

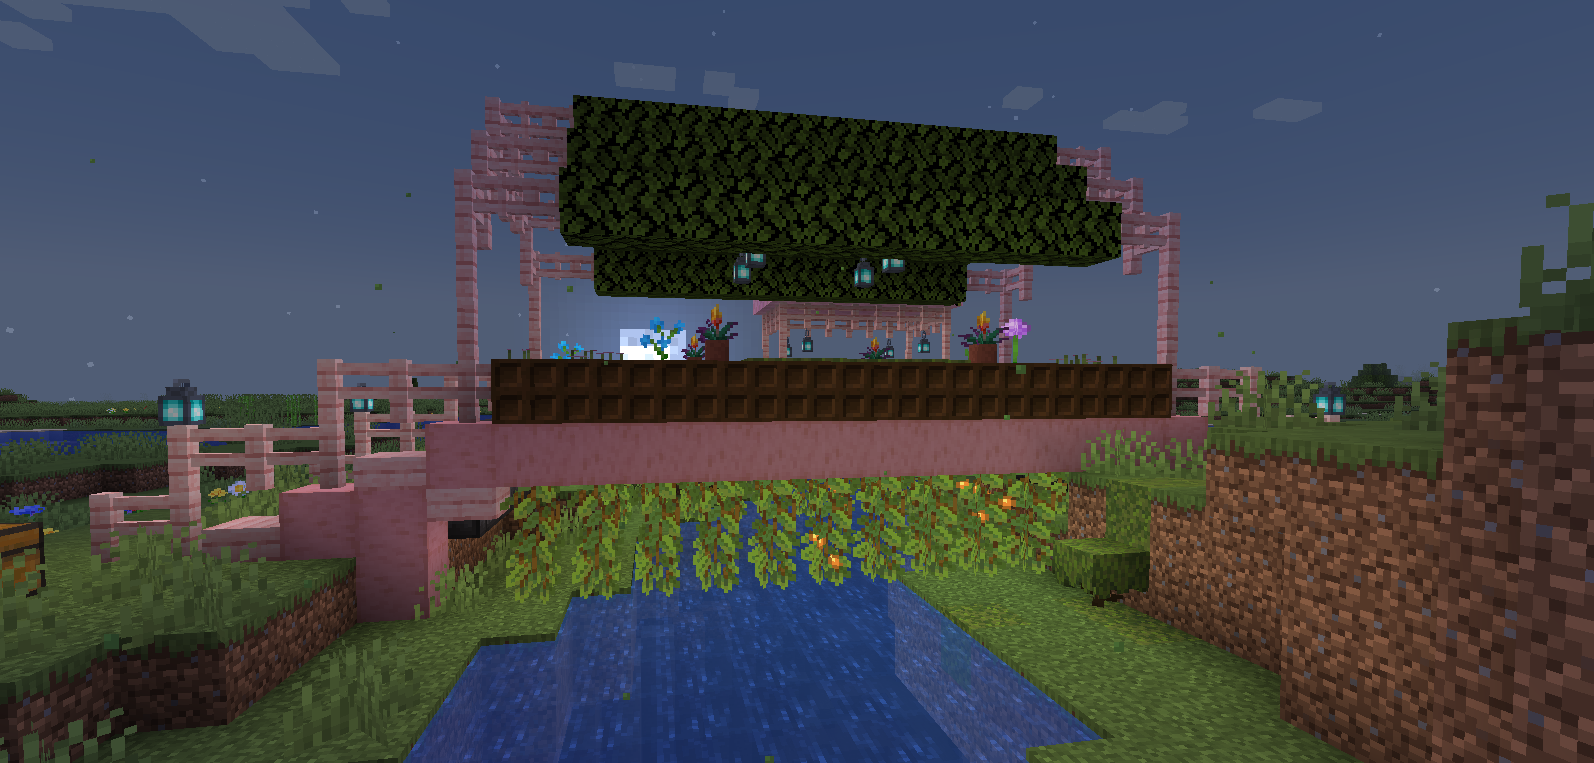
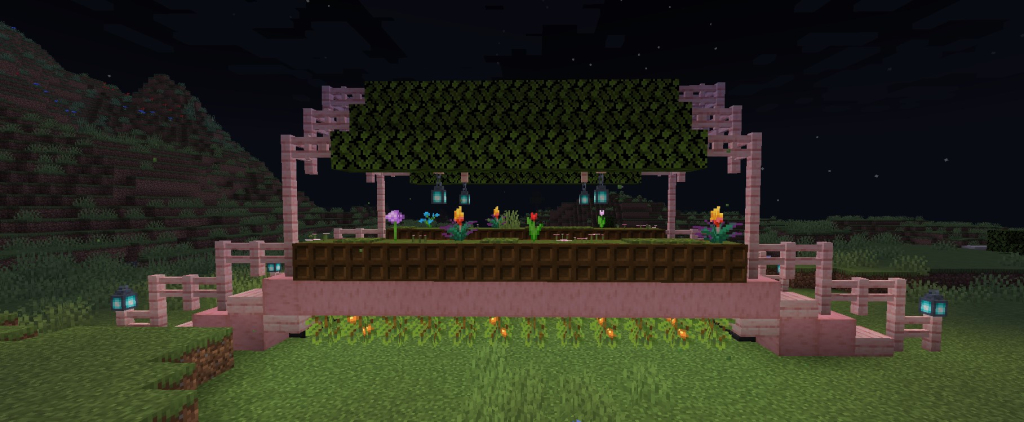
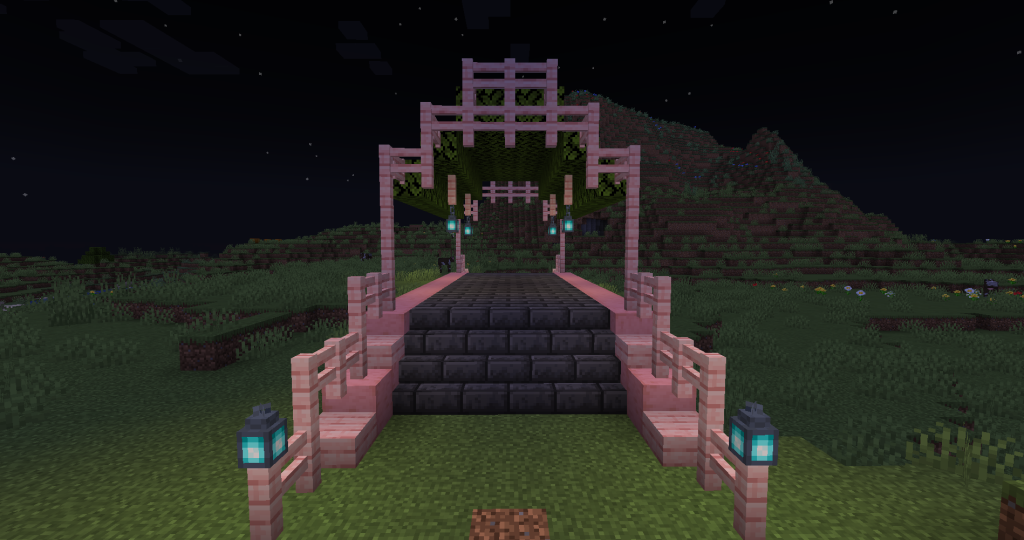
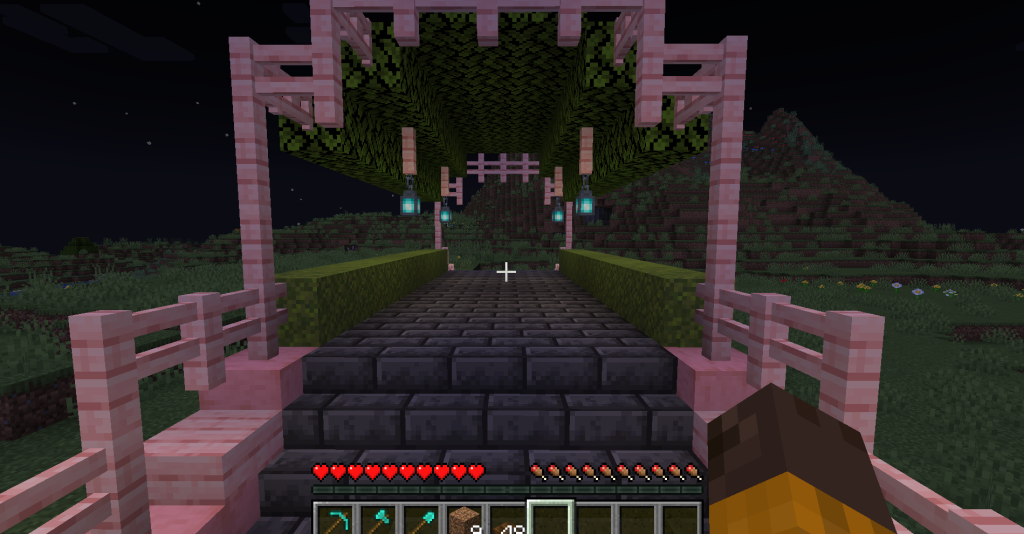
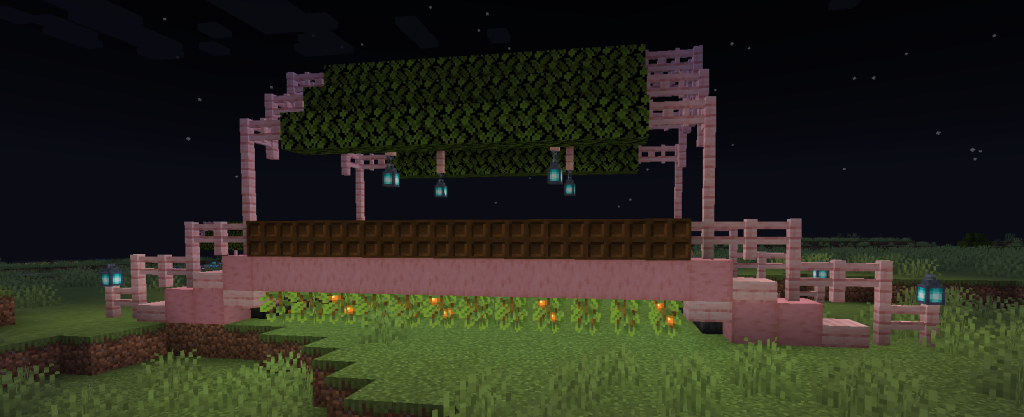
A lot of Minecraft bridge ideas are inspired by medieval bridges, using oak wood and stone since they are materials easily acquired even in survival worlds. This Minecraft bridge design strays from the medieval design in color palette and the use of leaves, moss, and other floral components.
While using some materials that players may have to work a little harder for in survival depending on the world they spawn in, this bridge is still very doable in Minecraft. All of the components can be easily duplicated once they are acquired (with the exception of the optional spore blossoms), and the materials can be substituted to reflect the player’s local and favorite materials.
Table of Contents
Bridge Materials
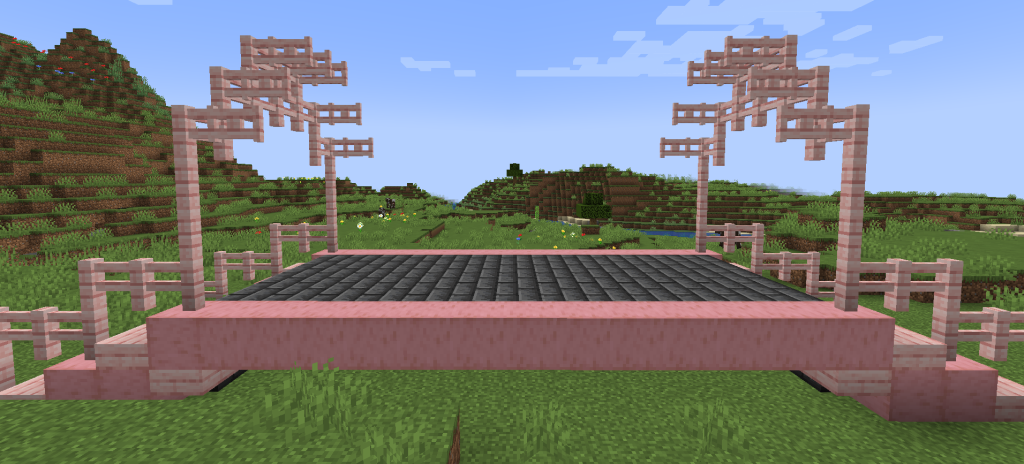
The base is a stone bridge that is five blocks wide and 16 blocks long. It is made up of 40 deepslate brick stairs and 50 deepslate brick slabs.
This base has cherry wood side railing and uses cherry wood fences to create the bridge’s roof and stairway rails. In total, it requires 12 cherry slabs, 36 stripped cherry wood blocks, 68 cherry fences, and 14 cherry fence gates.
Rather than using fences as “rails” for the actual bridge, this design uses moss blocks and dark oak trapdoors. Each side uses 12 moss blocks and 24 trap doors, so a total of 24 moss blocks and 48 trap doors is needed.
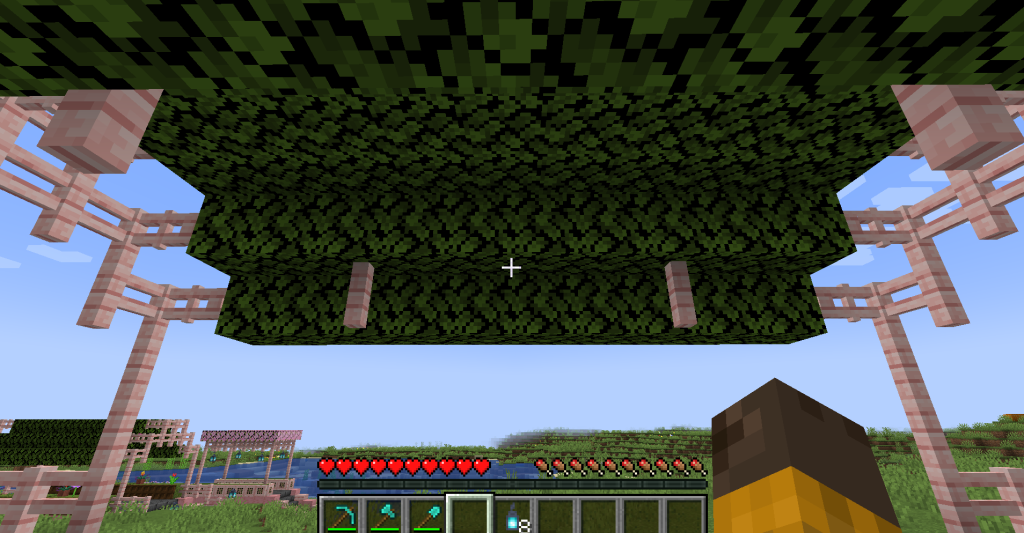
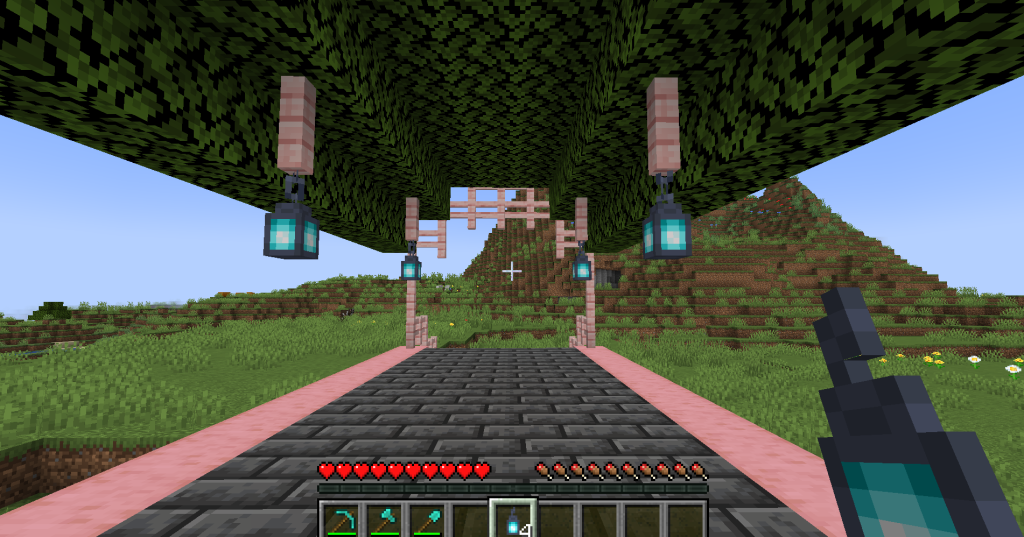
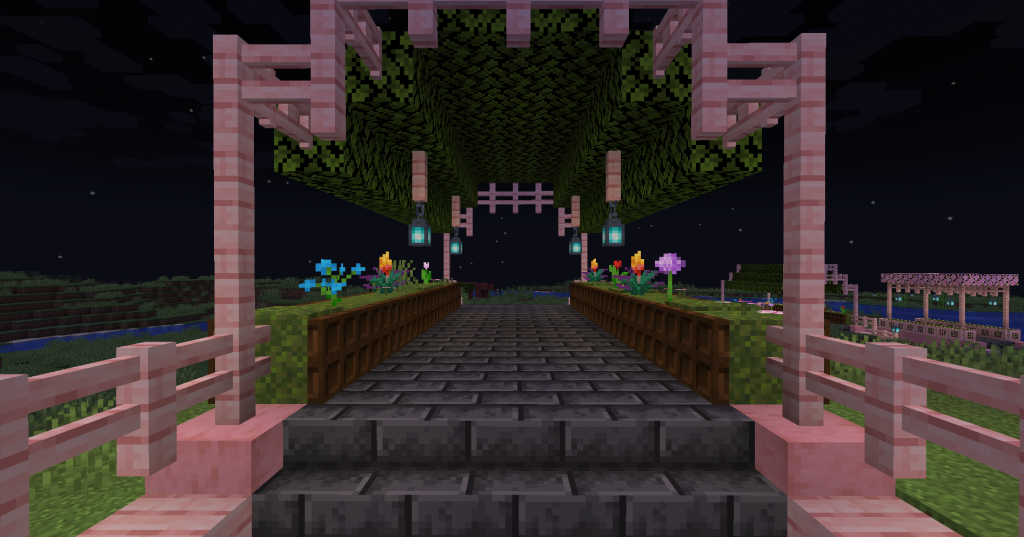
The roof of the bridge uses 68 oak leaves to provide cover. 8 soul lanterns are used to give off a more fairy-tale vibe than regular lanterns may, but any light source can be used.
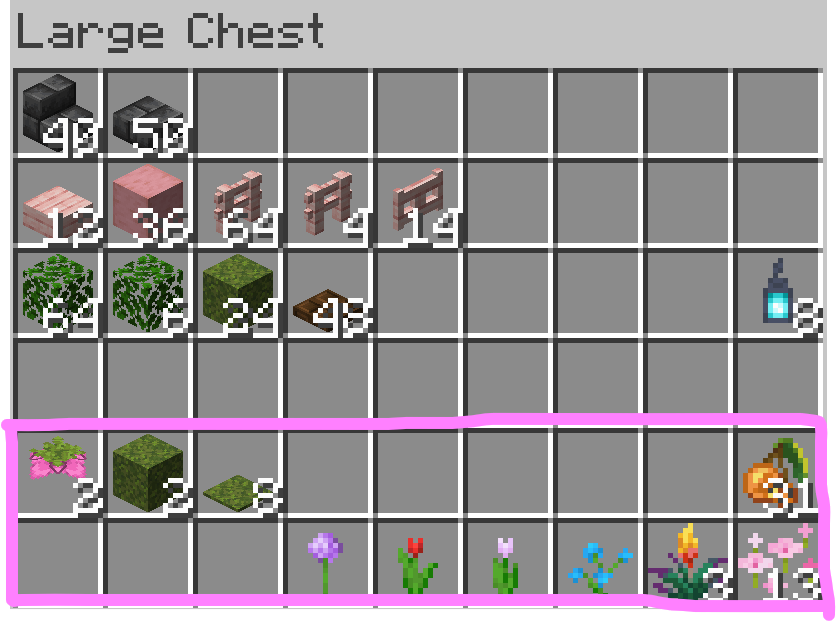
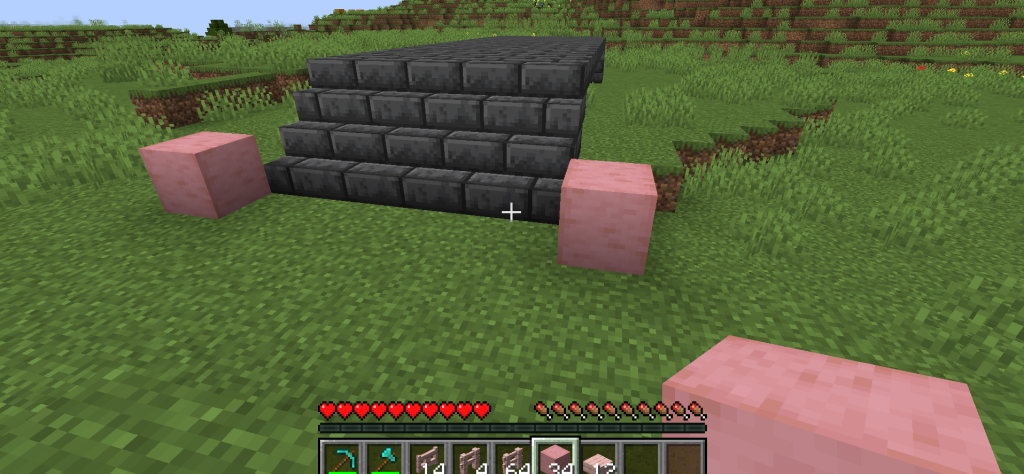
Everything outlined in pink is optional and used solely for decoration!
Deepslate Brick Base
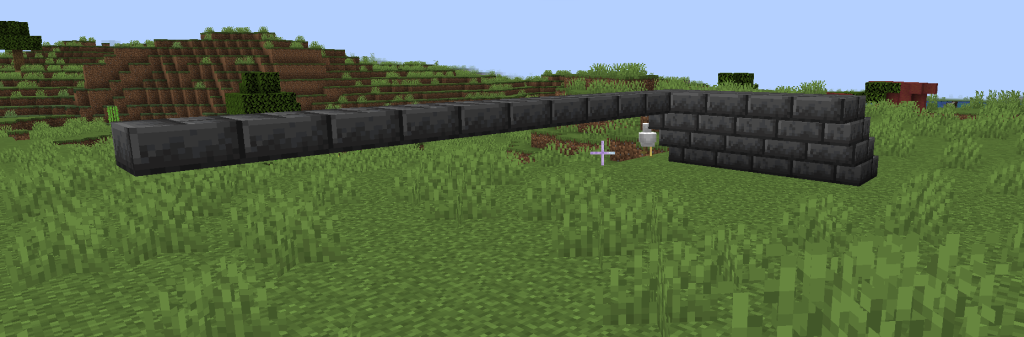
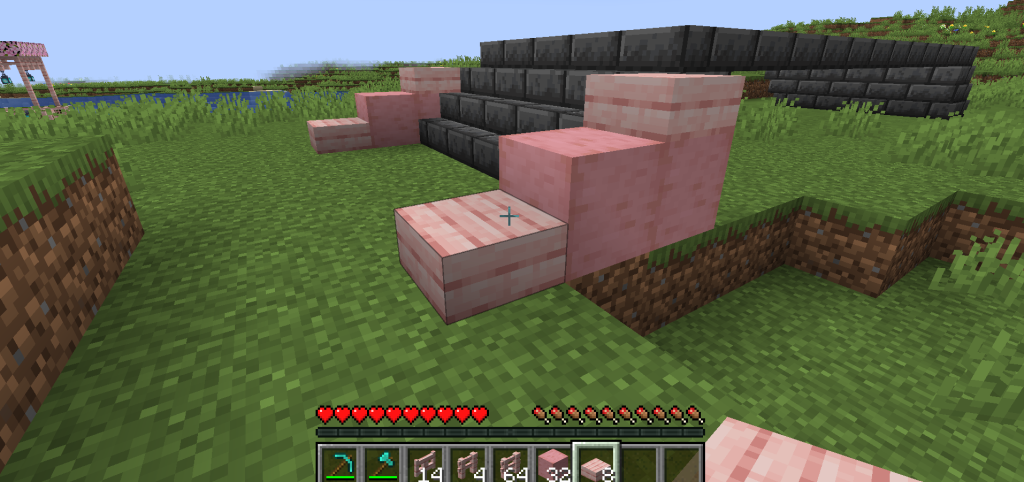
Start by placing five of the deepslate brick stairs in a row at the start of the bridge.
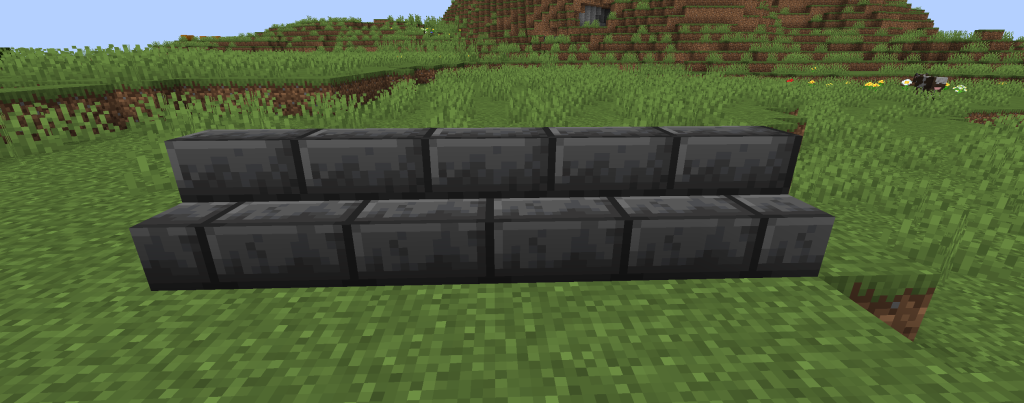
Behind each one place an upside-down deepslate brick stair.
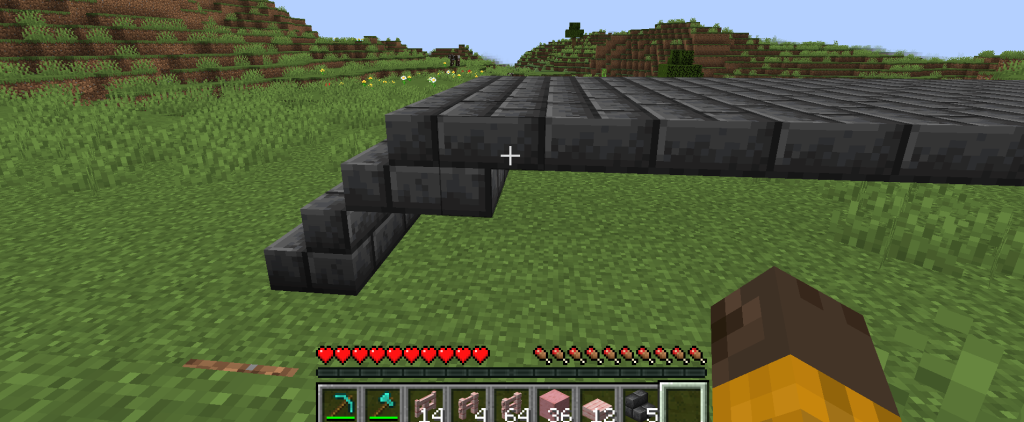
Continue the stairs by placing deepslate brick stairs right-side-up on top of the upside-down stairs.
Then repeat the second step and place deepslate brick stairs behind each newly placed stair block.
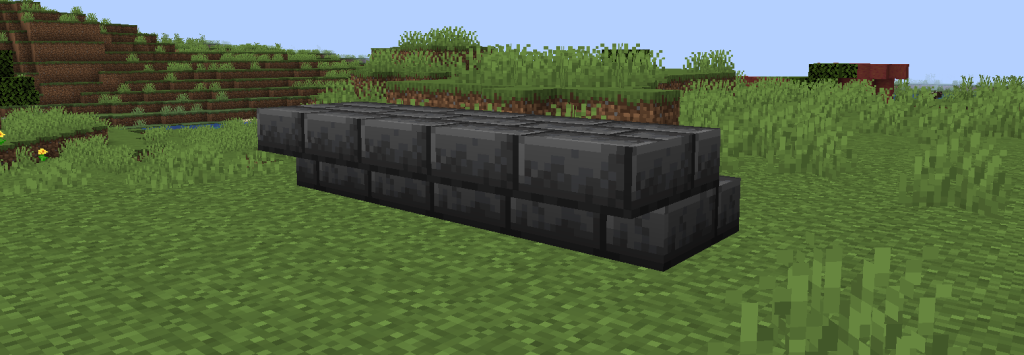
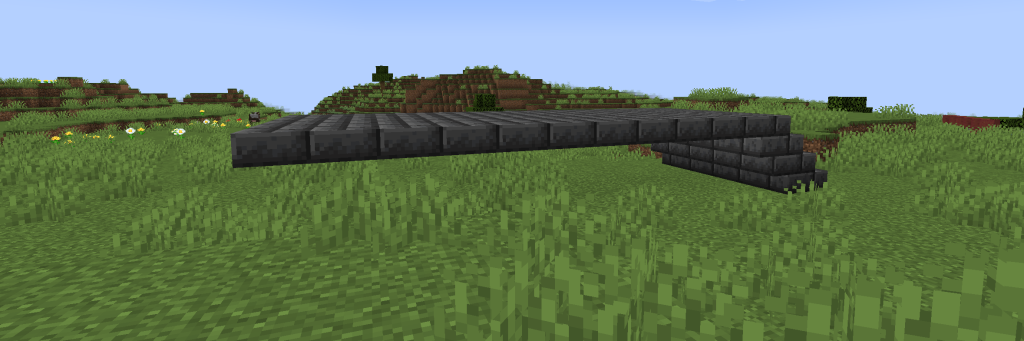
From here, start building out with the slabs! Each row will be extended out by 10 slabs.
Once all 50 slabs are placed, it should look like this.
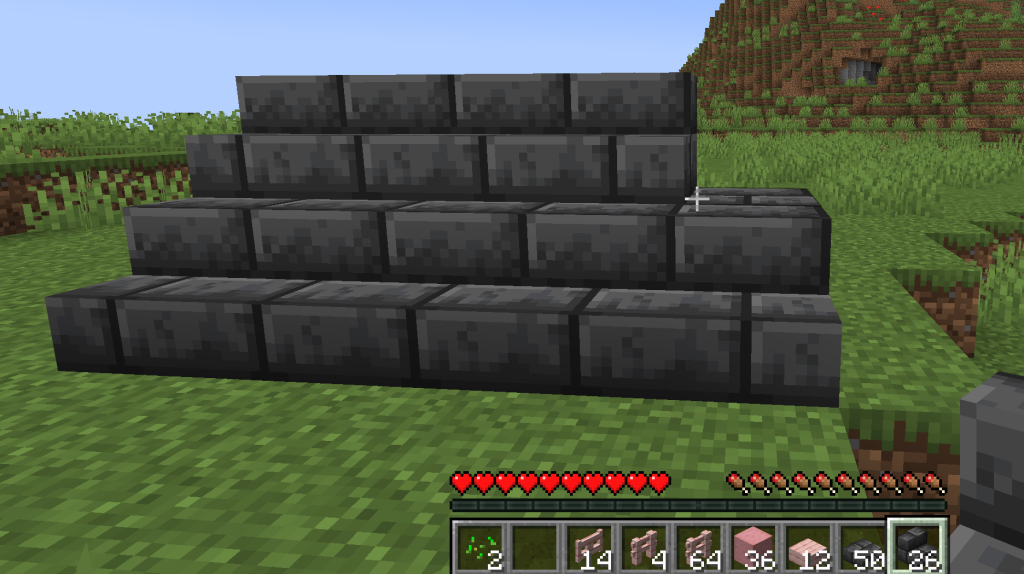
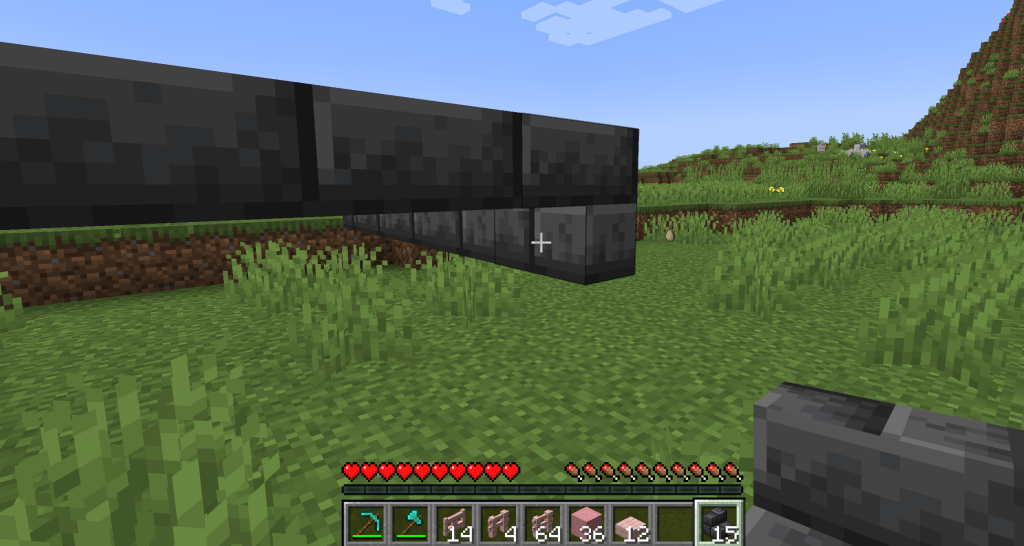
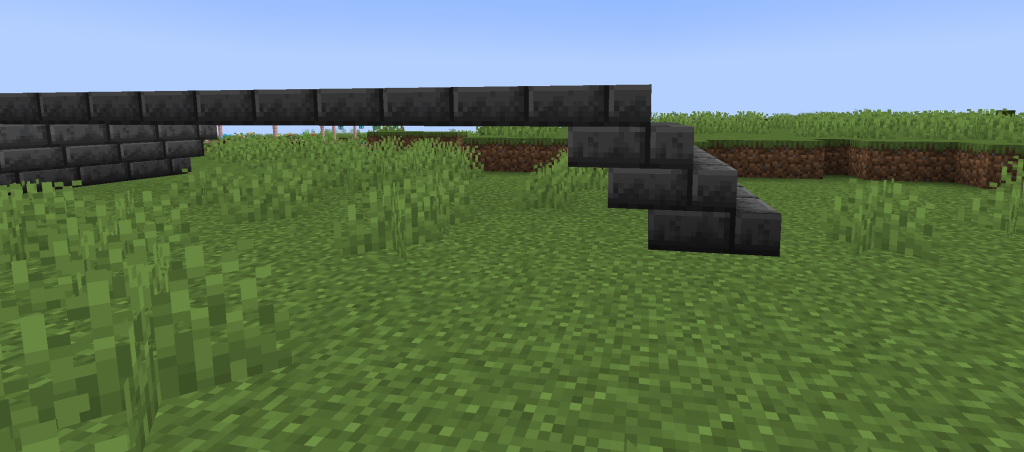
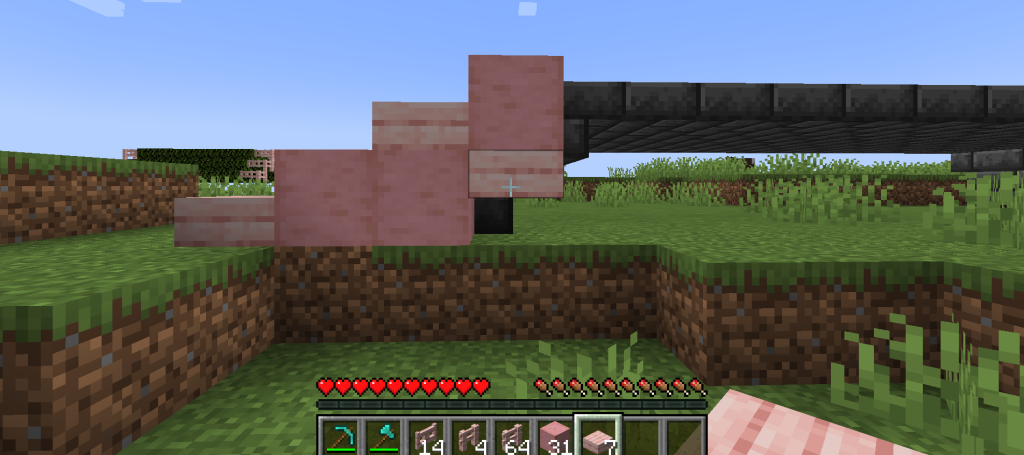
All that’s left to do is copy what we did with the stairs on the first side to build the stairs for the second side. Start by placing upside-down stairs blocks at the end of the slabs. You may need to place a few dirt blocks here to get the stairs to be properly upside-down.
Then add stairs in front of each upside-down block.
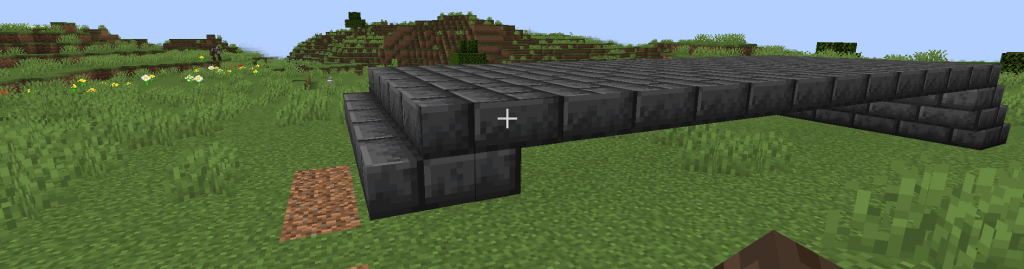
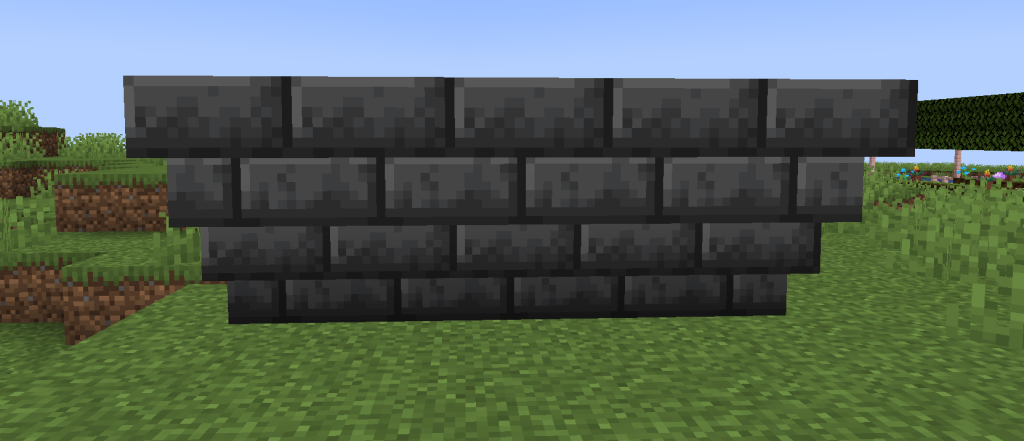
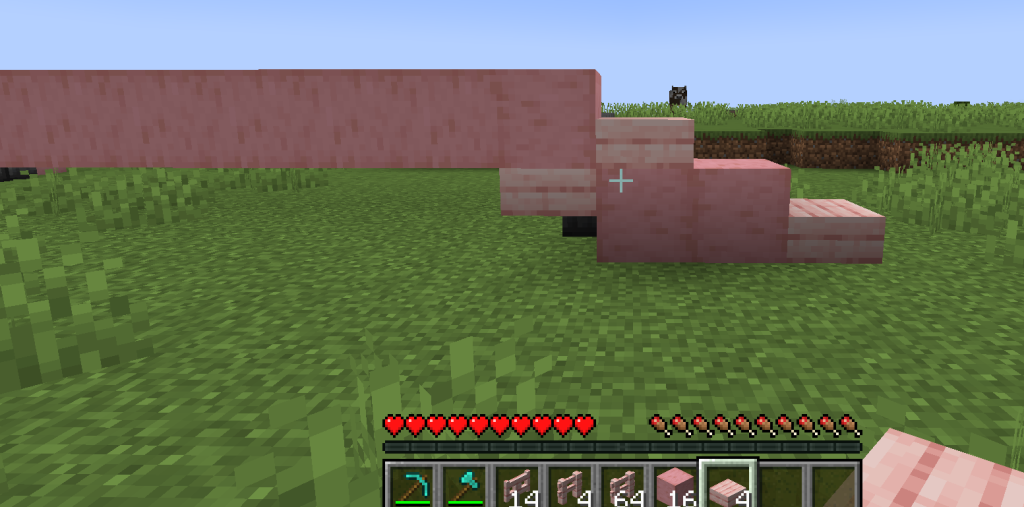
To place the final stairs, start by placing the five that will touch the ground at the bridge’s end.
Then crouch underneath the bridge and place the final stair blocks upside-down behind the ones on the ground.
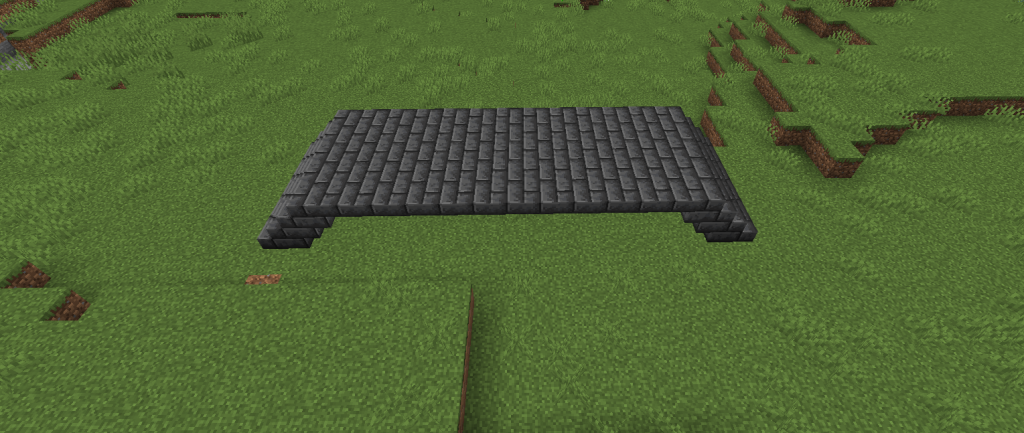
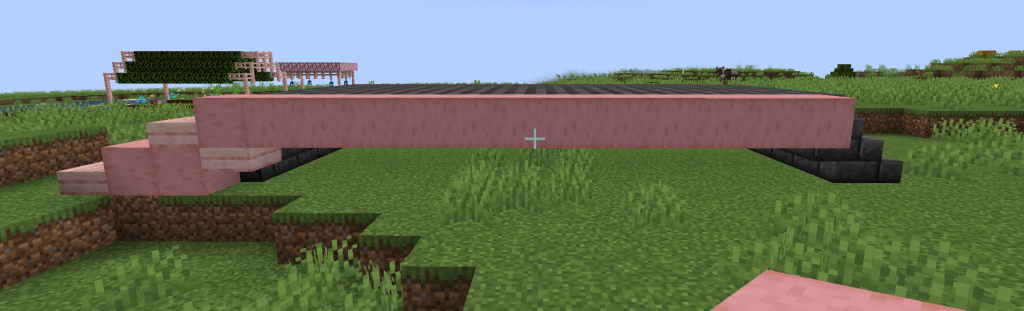
The final base should look something like this if you’re following step-by-step.
Cherry Wood Sides
To start the cherry accents, face the stairs on one side of the bridge. On each side of the bridge, place one stripped cherry wood block diagonal to the outer stairs.
Then place one cherry wood slab in front of each stripped cherry wood block. Right next to the stairs, place another block of stripped cherry directly behind the first and put one slab on top of it.
Place one cherry slab next to the second stripped wood, then place one stripped wood on top of it.
Continue to place stripped cherry wood in a row, stopping after placing the last block next to the first upside-down stairs block on the other side.
Then all you have to do is copy the first few steps on the next side! Place a slab underneath the final stripped wood block. Then place a stripped wood block on the ground in front of it with a slab on top, followed by a lone stripped wood block and then one slab.
Finally, repeat on the other side!

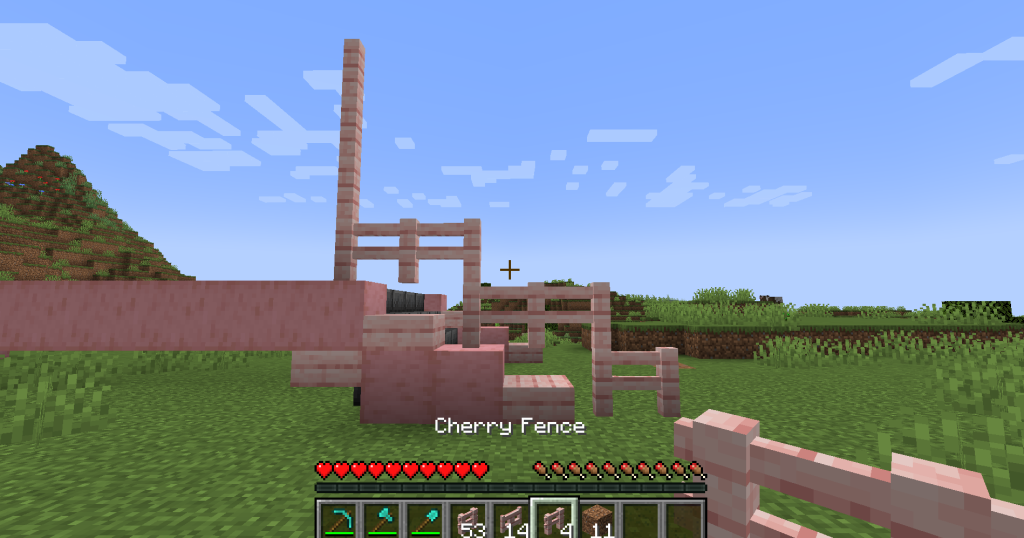
Cherry Fencing
Start the fencing by placing one fence in front of the slab at the front of the stairs.
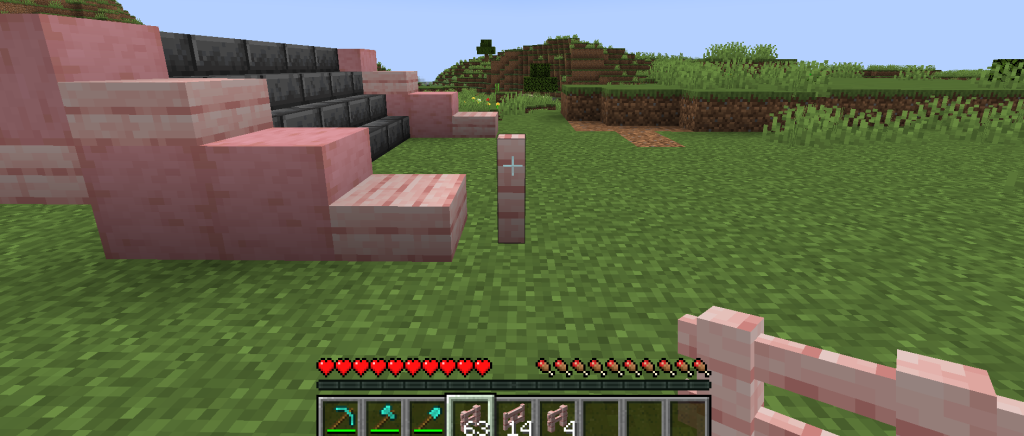
Place another fence directly in front of it.
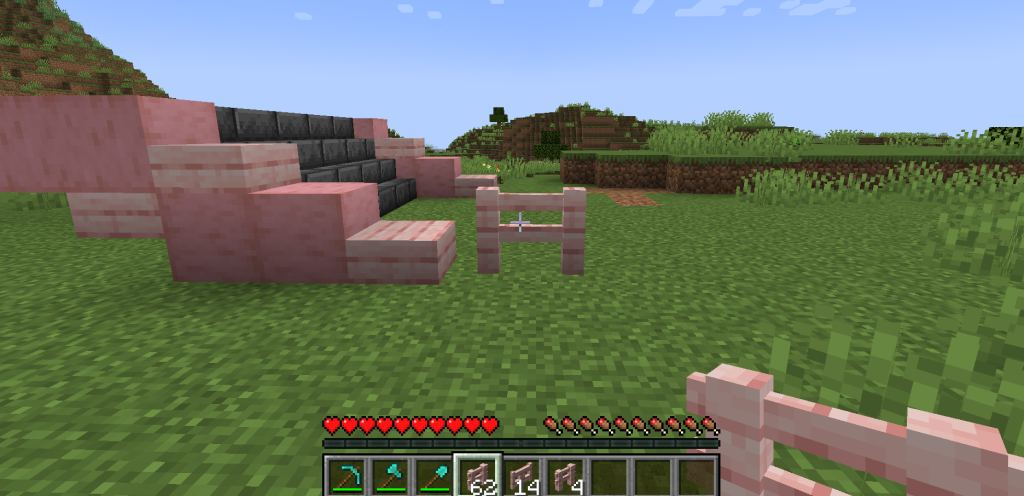
Place another fence directly above the first one placed, and another over the slab block connecting to it.
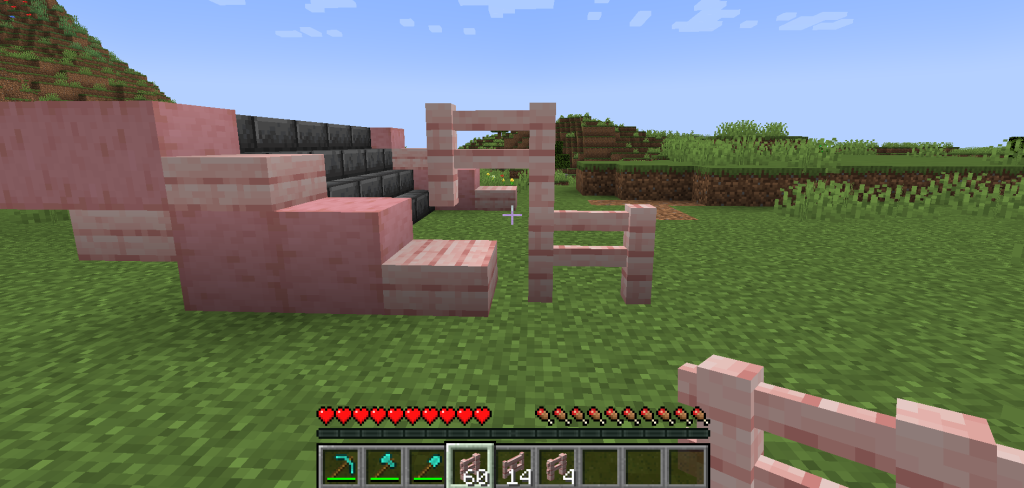
Repeat this process by placing fences connecting to each other backwards, ending after placing the fence on the stripped wood block with the slab underneath.
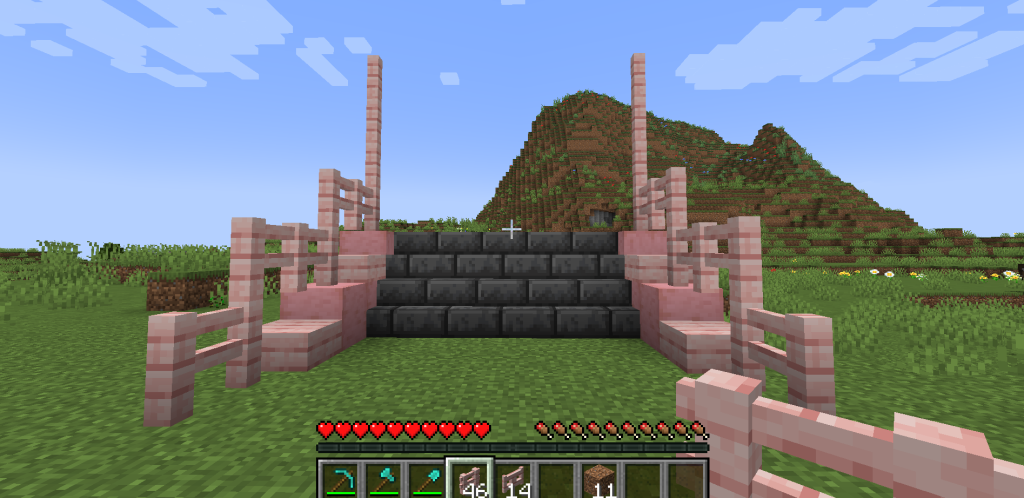
Extend that final fence by adding three more fences on top of it. It should extend four blocks into the sky above the stripped wood block.
Repeat this on the opposite side so that they match.
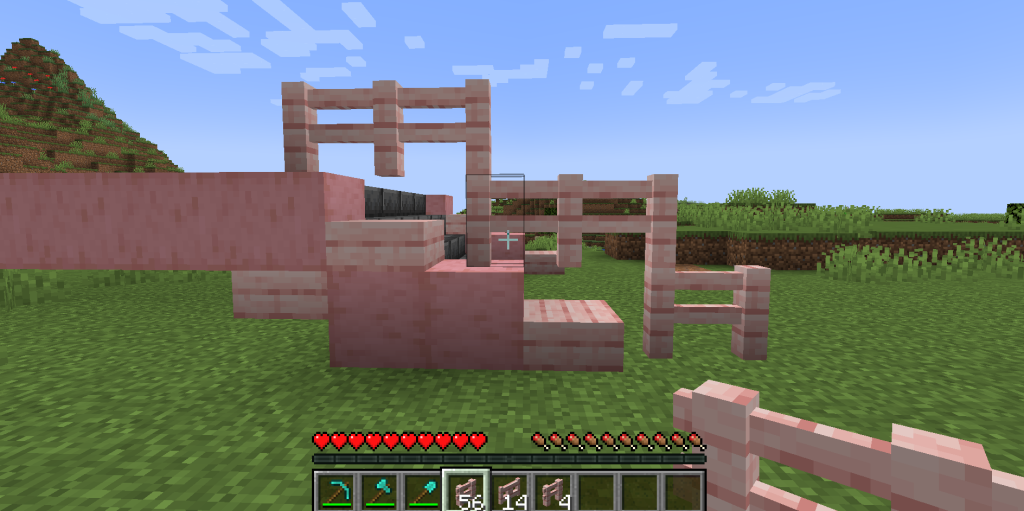
From here, we’ll make an arch using the extended fences. On the side of each fence pole, place one fence so that it extends over the stairway.
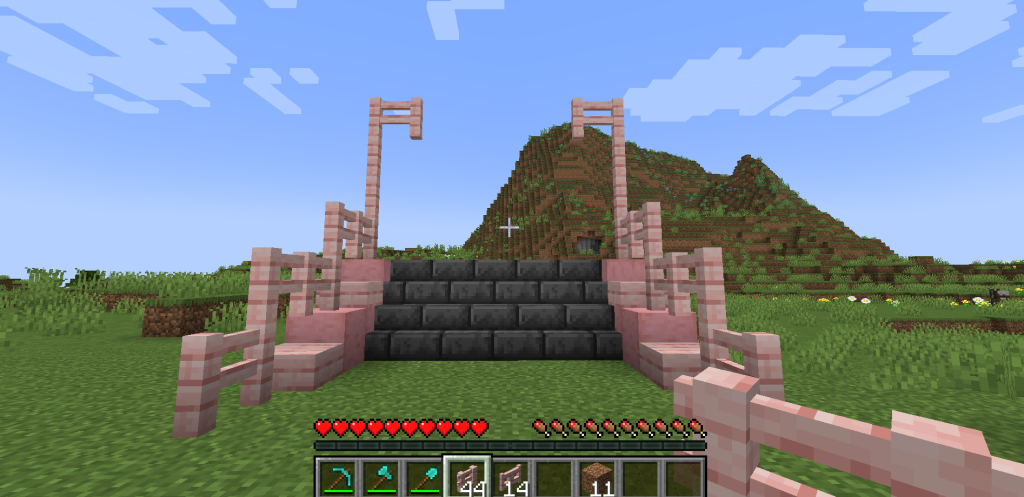
Place one fence pole on top of each new one, and fill in that new row so both sides connect.
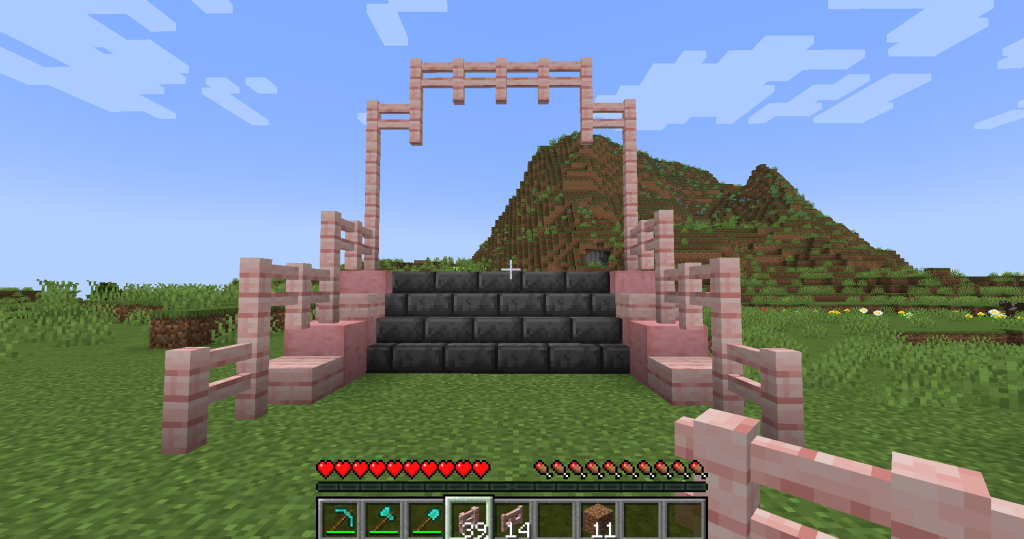
Place one fence on top of each of the three fences in the center to form the arch.
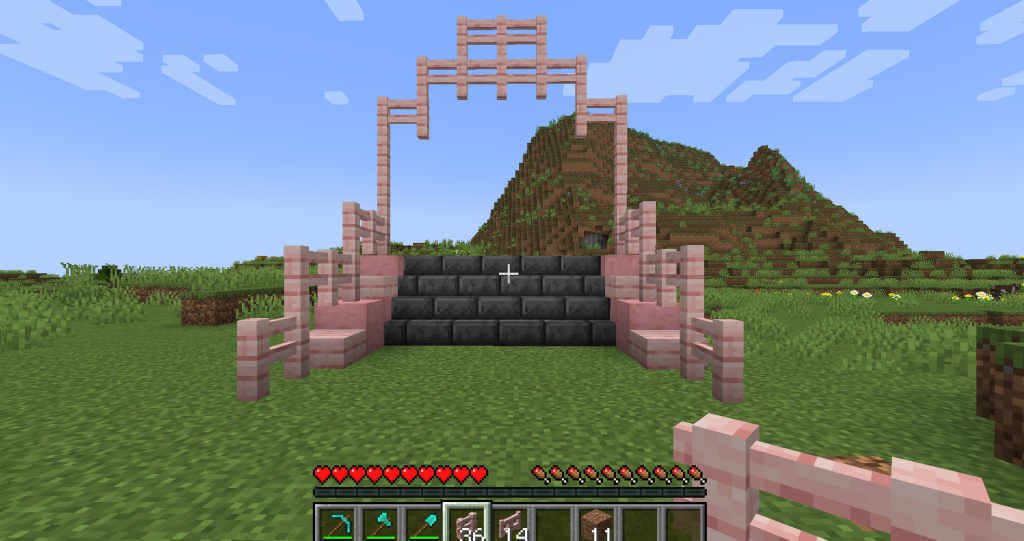
At this point, if you’d like to you can remove the fence beneath the top center one to change the arch. Keeping it or removing it will not change how the roof is made.
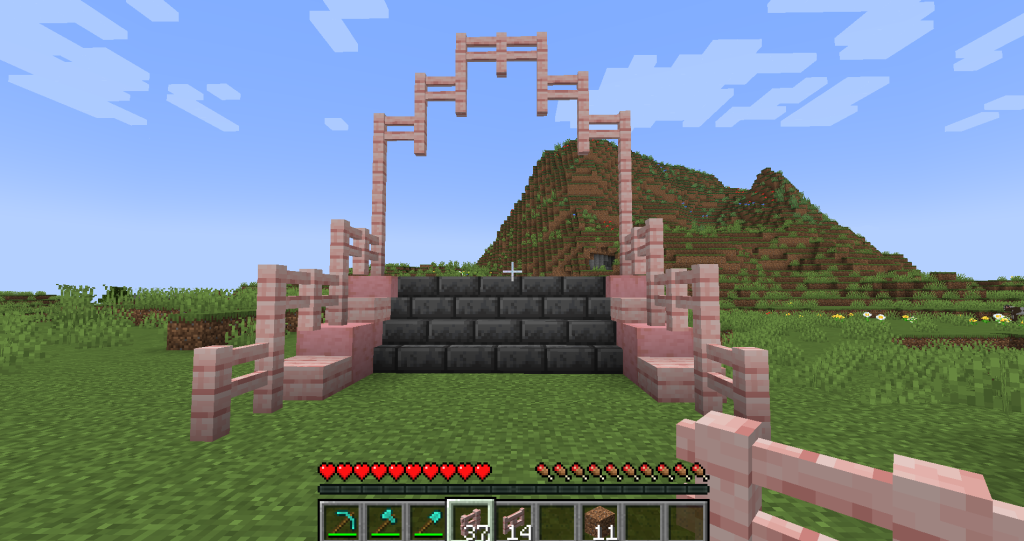
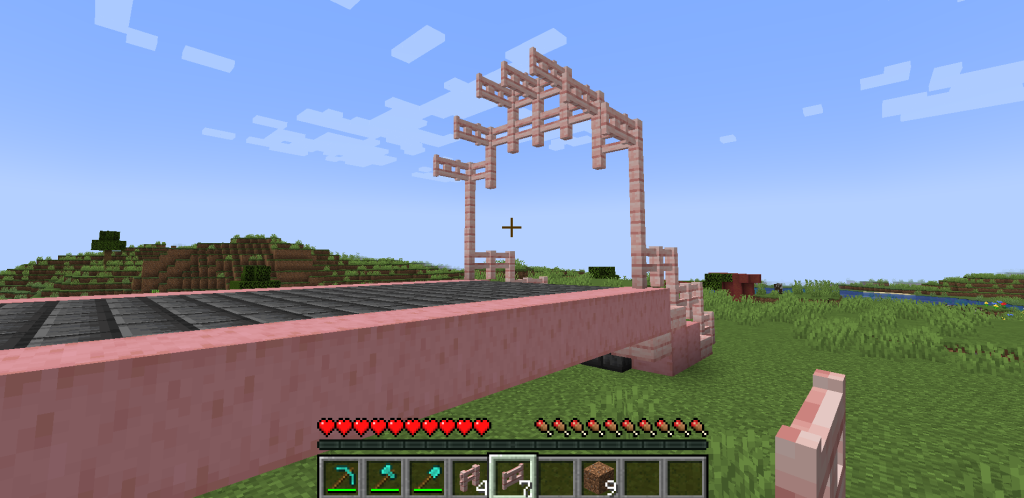
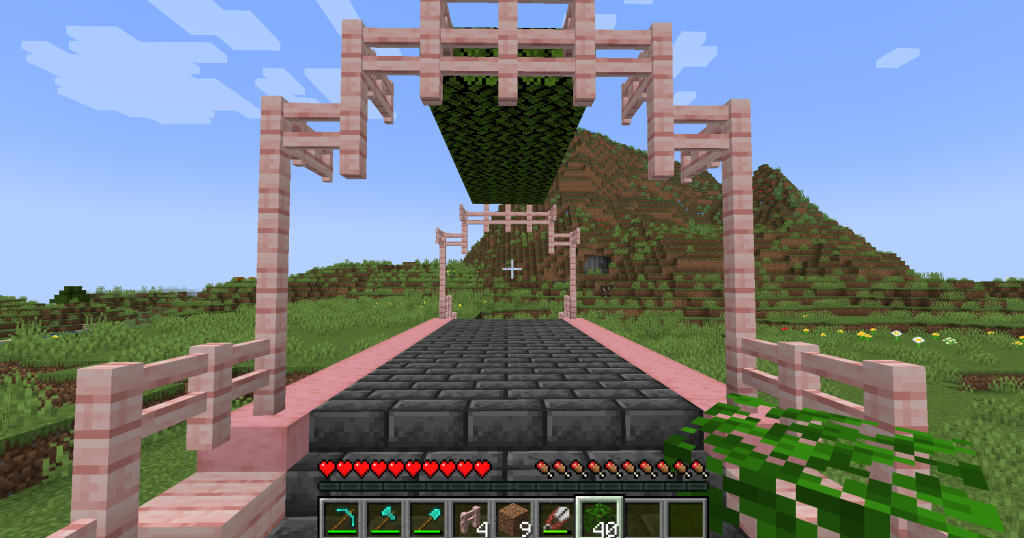
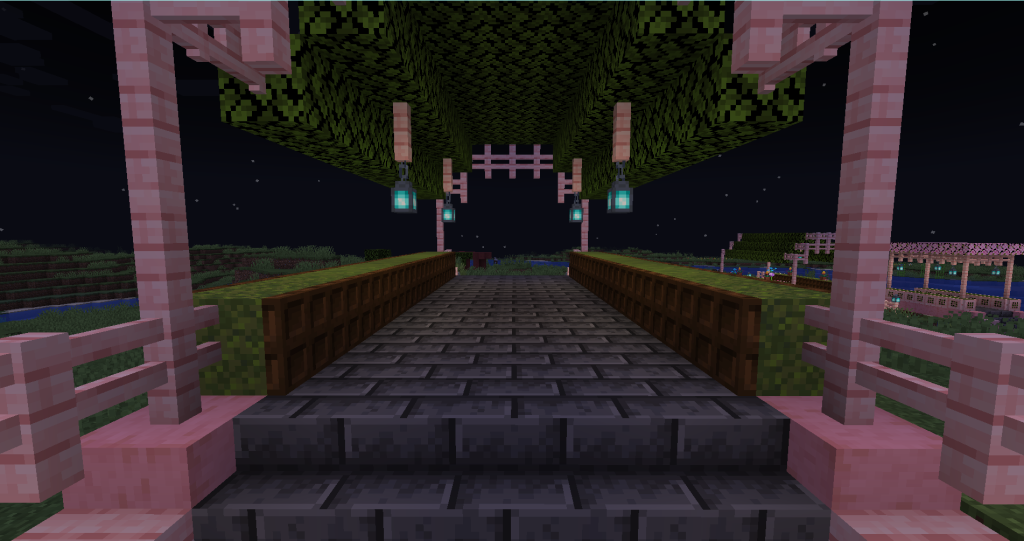
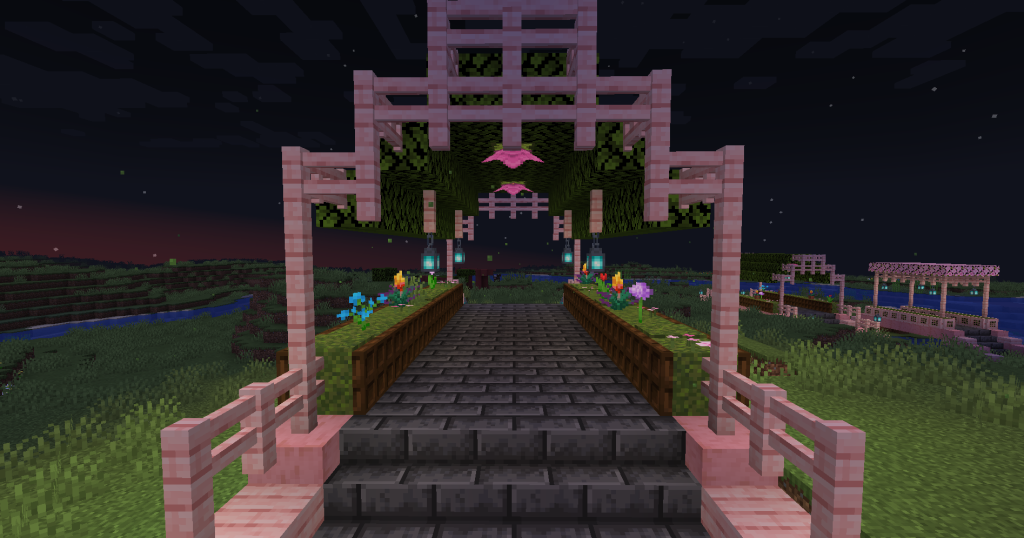
After this point, the bridge should look something like this.
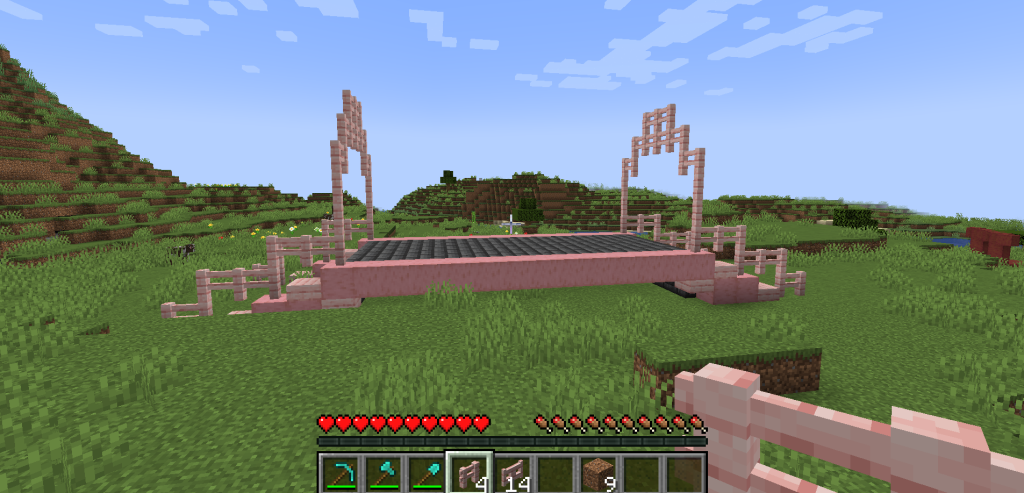
You should have four leftover cherry fences to use for the lighting later on.
Oak Leave Roof
Building the roof can be done in two parts: the first part is adding fence gates to make sure the leaves connect to the arches, and the second is adding the leaves themselves.
Cherry Fence Gates
The fence gates are placed only on the arches to connect them to the roof. They are placed on the tops of each part of the arch: one is placed on each of the top three fences, one on each of the top edge fences of the next layer, and the last two are added to each of the fence poles.
This is replicated on the other side with the final seven fence gates.
Adding the Leaves
Start by placing the leaves on the first three rows. Crouch to place the oak leaves on the fence gates, then fill in the rows with the leaves.
Then continue to fill in the rows to the left and right of the top three.
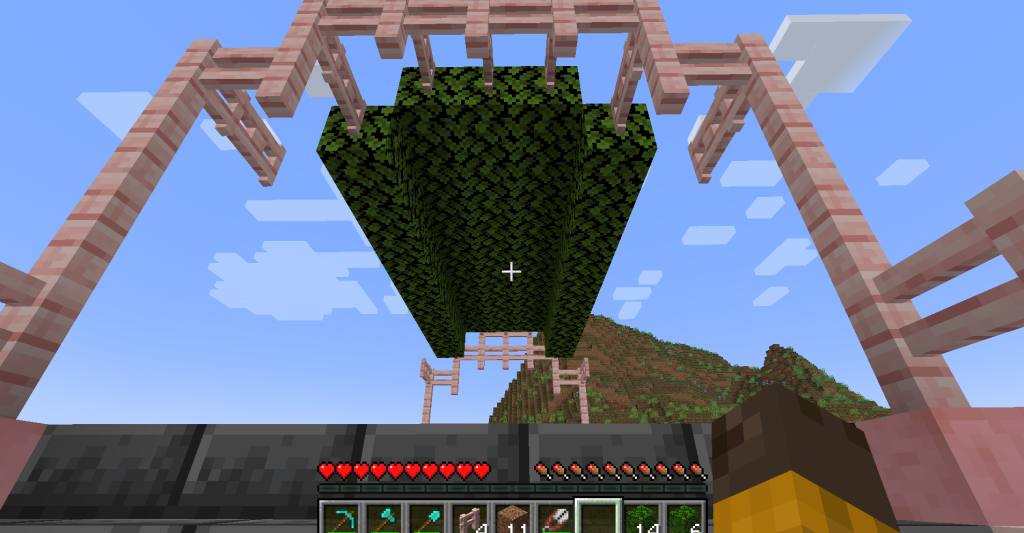
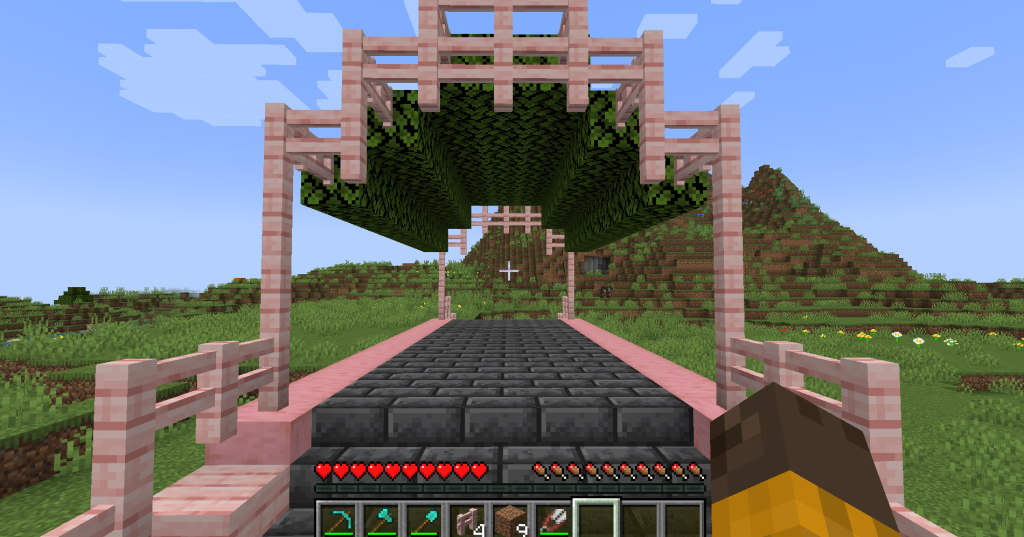
Finish the roof by adding the last twenty oak leaves to the final rows.
Fairycore / Cottagecore Decorations
While optional, these details make the bridge more aesthetically pleasing! These options are definitely for the flower-gatherers, the lush cave lovers, and those who just enjoy adding a splash of cute to their Minecraft world.
Adding Lights
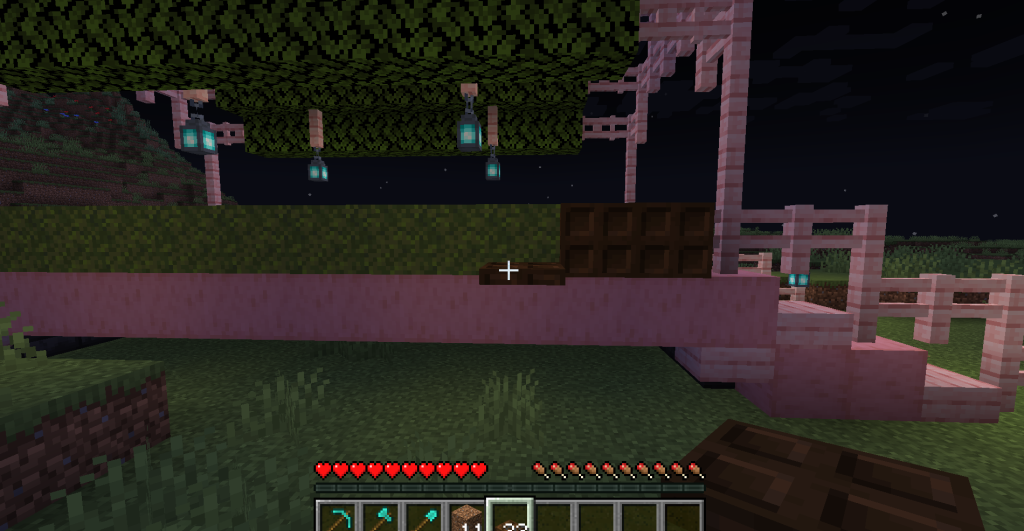
After building the bridge you should have four leftover cherry fence posts. I placed them three blocks from the fence gates on both sides of the bridge.
Then I added a soul lantern to each to light the body of the bridge.
Lastly, I added a soul lantern to the final fence post after the stairs on each side of the bridge.
Moss Sides
To make the mossy “rails”, place moss blocks between the fences on top of the stripped wood sides.
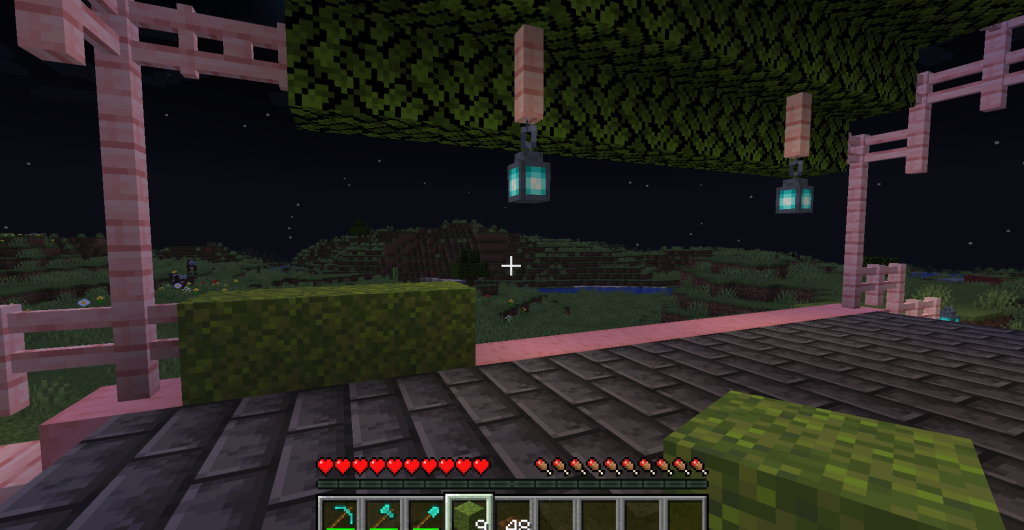
Do this on both sides of the bridge to make two complete rows.
Then add trapdoors to the sides of the moss. I do this by clicking on the edge between the deepslate bricks and the moss blocks.
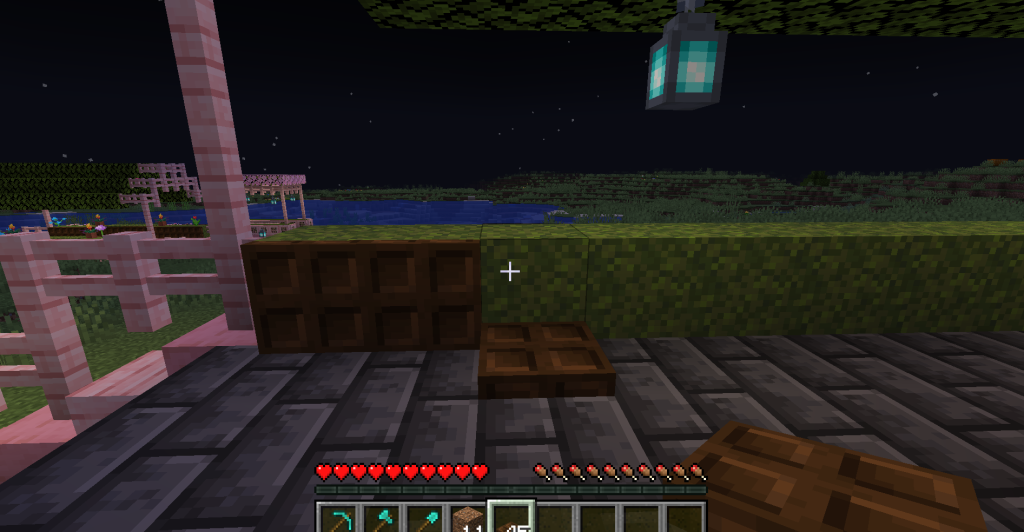
Repeat this process on the outside as well.
It should look like this when all the trap doors are placed.
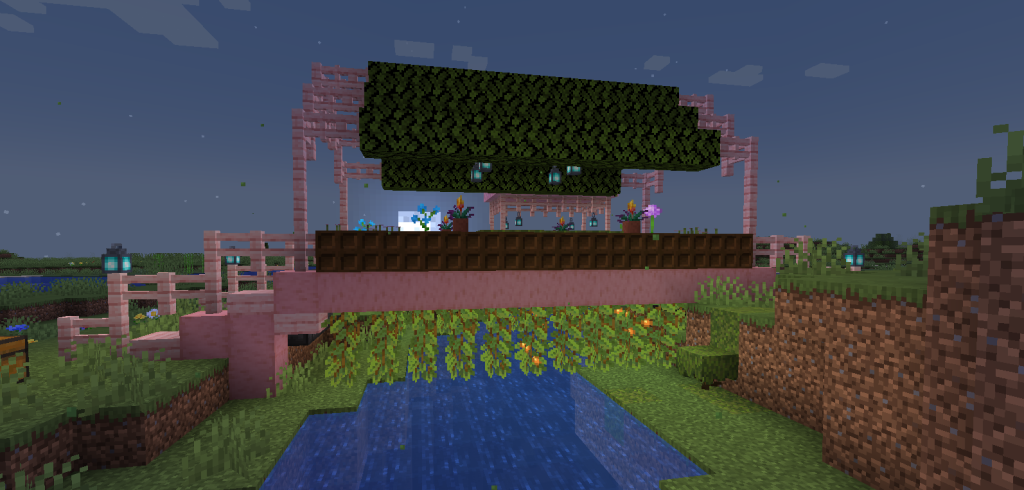
From there, moss carpets, flowers, weeds, and any other decorations can be added on top of the moss blocks!
Adding Spore Blossoms
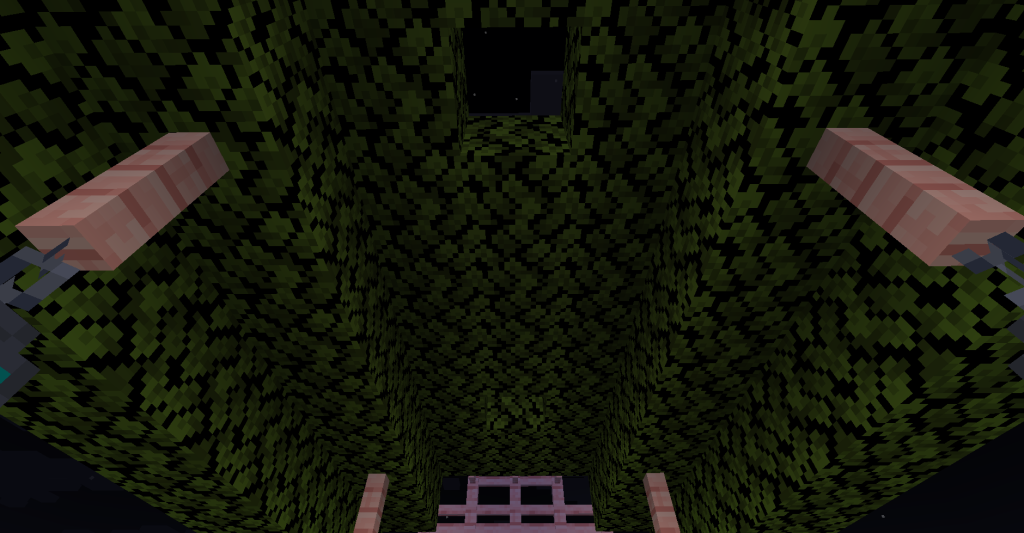
To add spore blossoms, start by removing the same number of oak leaves from the ceiling as the number of spore blossoms you have. Here I’m adding two blossoms, so I removed two oak leaves.
Then fill in the spaces with moss blocks.
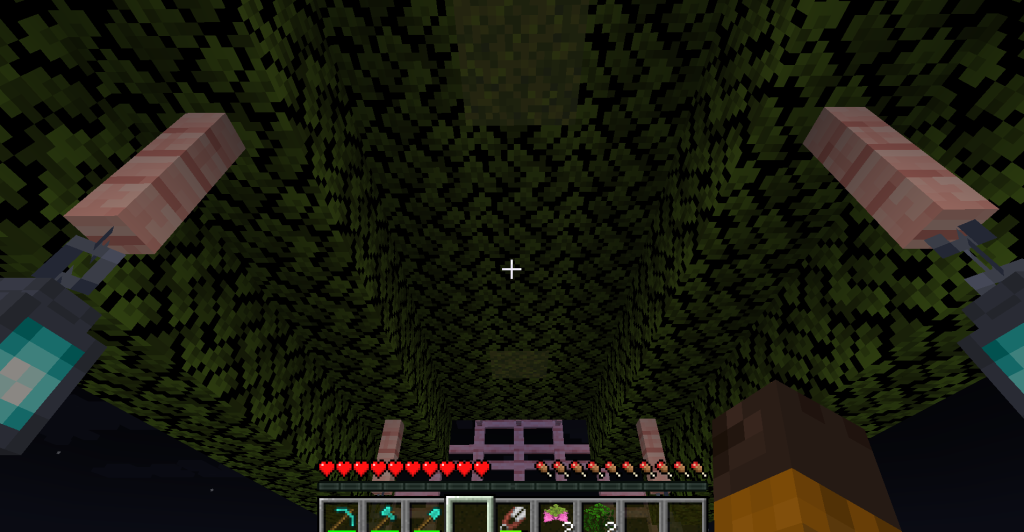
From there, just add the spore blossoms beneath the moss blocks! The spore blossoms will hang in the ceiling, spreading pretty green particles on those walking on the bridge.
Glowberry Underside
Adding glowberries is the easiest way to spruce up any bridge! They look best beneath bridges going over a gap or river.
Examples of Material and Decoration Substitutions
Medieval / Village Version
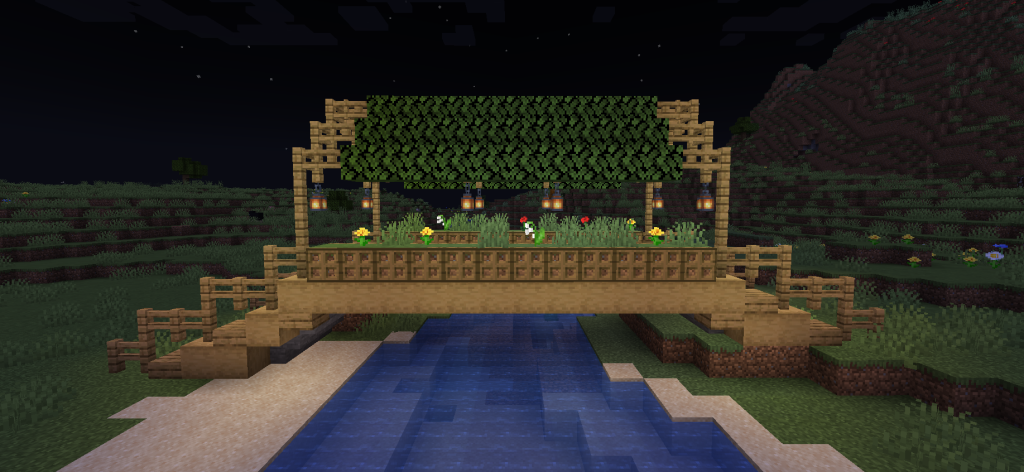
This bridge would fit right in around Plains Villages! It’s simple and relatively easy to source, with the hardest block to obtain being grass.
Modern Glass Version
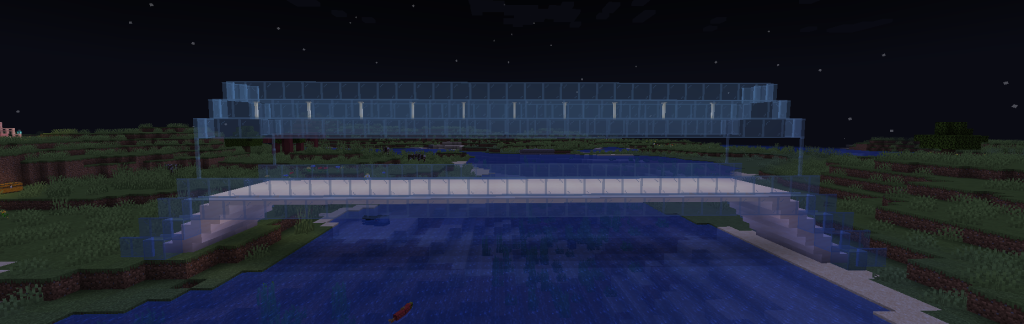
This bridge feels like a futuristic travel-tube, courtesy of its quartz base, glass block and pane railing, and its use of end rods for lighting.
Japanese-Inspired Mangrove Version
This build uses mangrove and dark oak wood to create a Japanese-inspired bridge! It uses podzol, potted azaleas, torch flowers, and regular lanterns as decorations.