


Texture packs, now commonly known as resource packs, are mods that can either slightly adjust your Minecraft world or completely overhaul it in incredible ways. When vanilla Minecraft starts to feel a little bland, adding custom textures to the game can improve your gameplay experience and bring new life into your worlds.
This guide will cover downloading resource packs for both PC versions of Minecraft. It will also provide a tutorial for installing Optifine, which is recommended for some resource packs and helps you customize your visuals.
Table of Contents
Bedrock Texture Pack Instructions
In order to add texture packs to Bedrock, you must start by opening up the game.
To check what texture packs you have, go to the settings menu and click on “Global Resources”. It will show you what pack you’re currently using, any you have downloaded, and some recommendations for resource packs you might like.
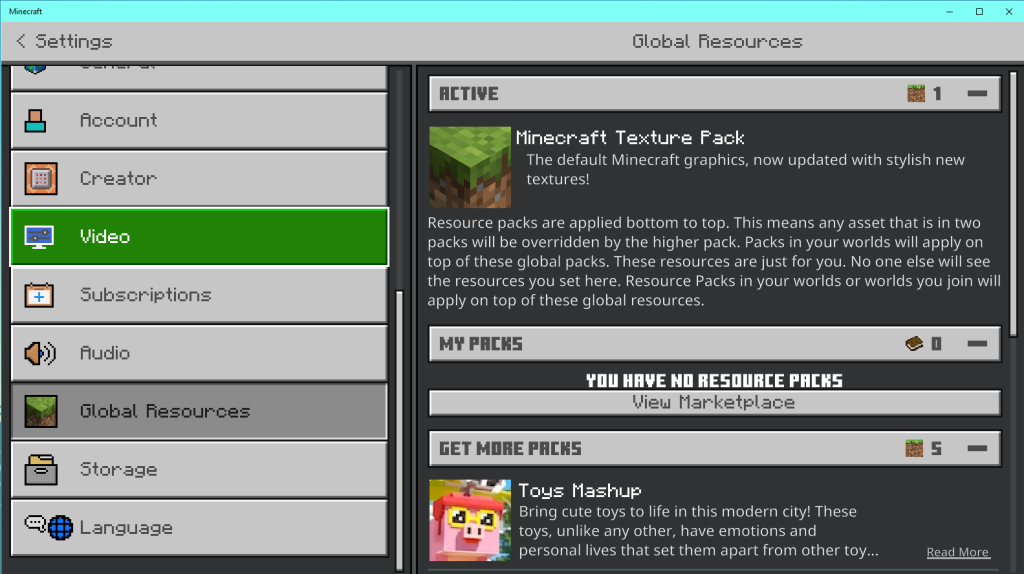
You can click on “View Marketplace” to head to the Minecraft marketplace. You can also head directly to it from the main menu via the Marketplace button.
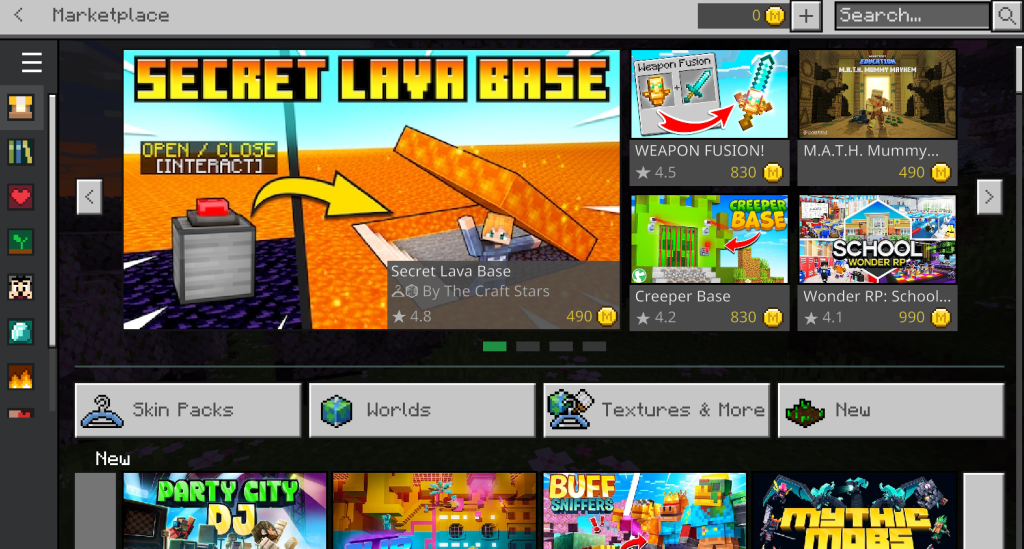
It’s important to note that there are a lot of resource packs here not free to download. You must purchase them with either real money or “Minecoins”, which are bought in the Marketplace with real money. There are discounts available on some resource packs/mods, and Minecoin packs are available as well for a bit of a discount.
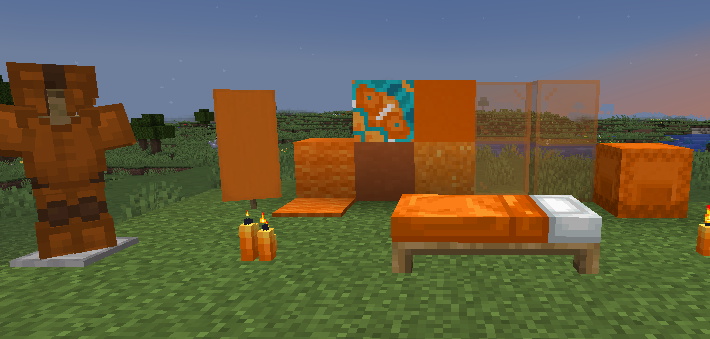
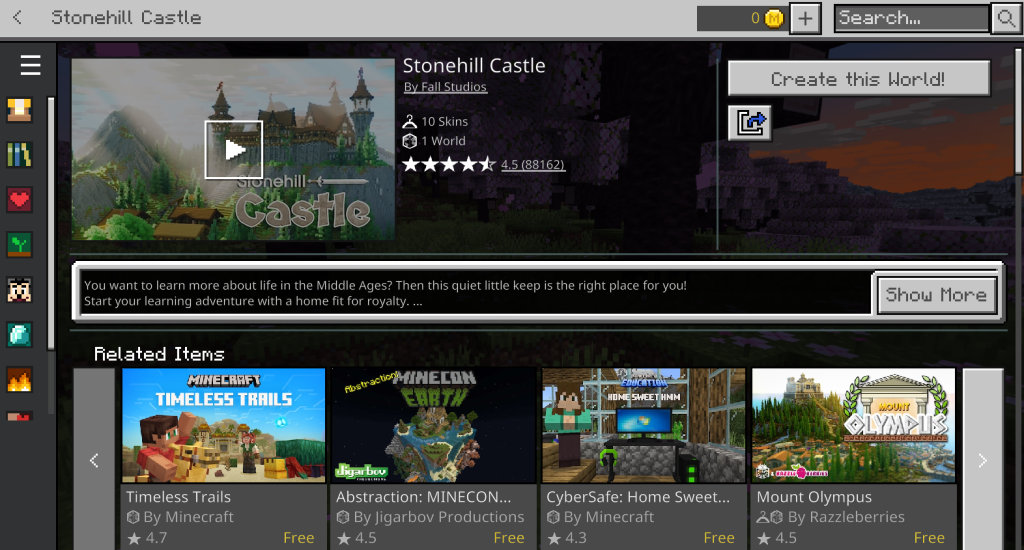
I found a lot of free “World” options by searching for “all texture packs” and then sorting by low price to high price. I found this “Stonehill Castle” world resource pack while doing so.
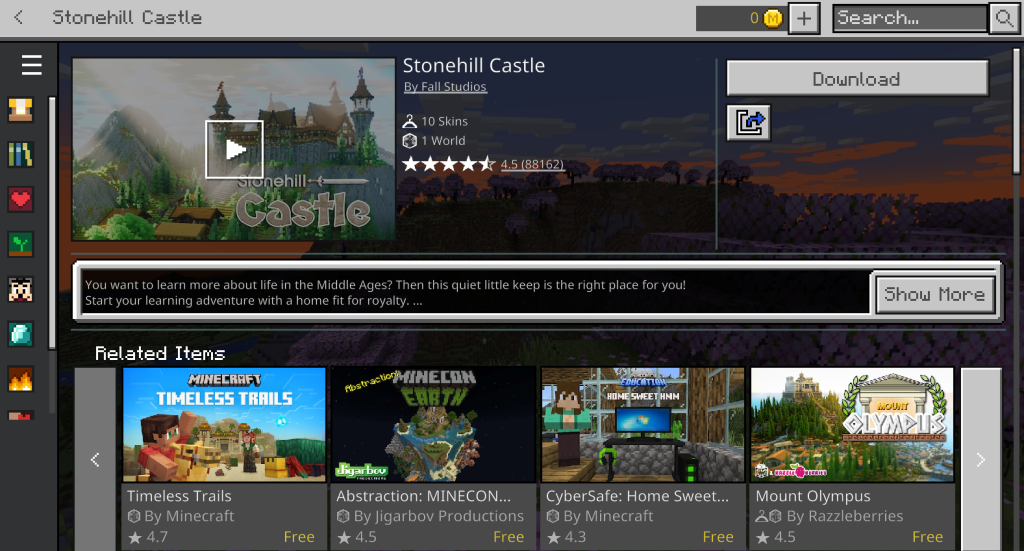
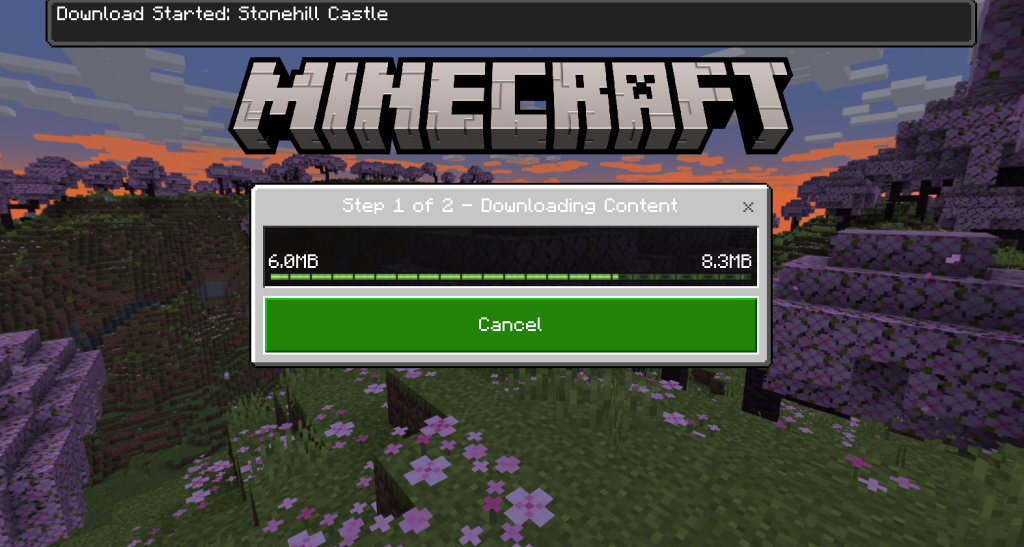
After clicking the free button, I downloaded the pack. It installed and imported itself into the game automatically, taking only about 30 seconds to do so.
After this, I clicked on “Create this World” in the upper right corner of the pack’s page.
That’s all you need to do! Since this resource pack was a world, it had to be initially opened from the marketplace and could only be played as survival on easy mode. It easily implemented itself in my game: the hardest part was just finding the free pack I wanted.
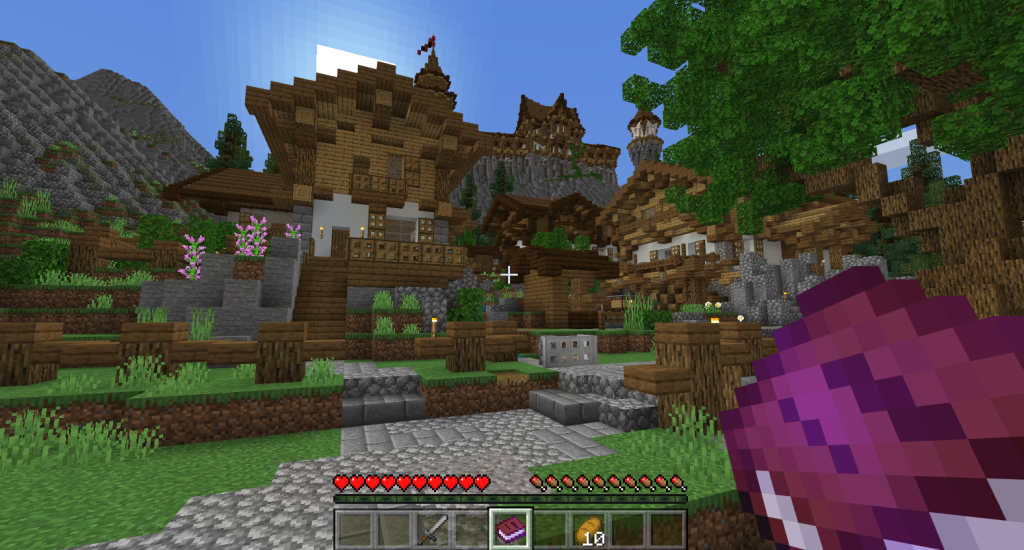
As long as you save before quitting the game, this new world will appear with your other worlds in the main game. You will not have to enter it from the Marketplace to play after the first time.
Java Texture Pack Instructions
Unlike Bedrock Edition, Java Edition does not have access to the Minecraft marketplace. Instead, textures must be downloaded from the internet and inputted manually into the Minecraft resource pack folder. It is a slightly lengthier process, but it can be done completely free and provides you with a lot of options.
Finding Resource Pack Folder
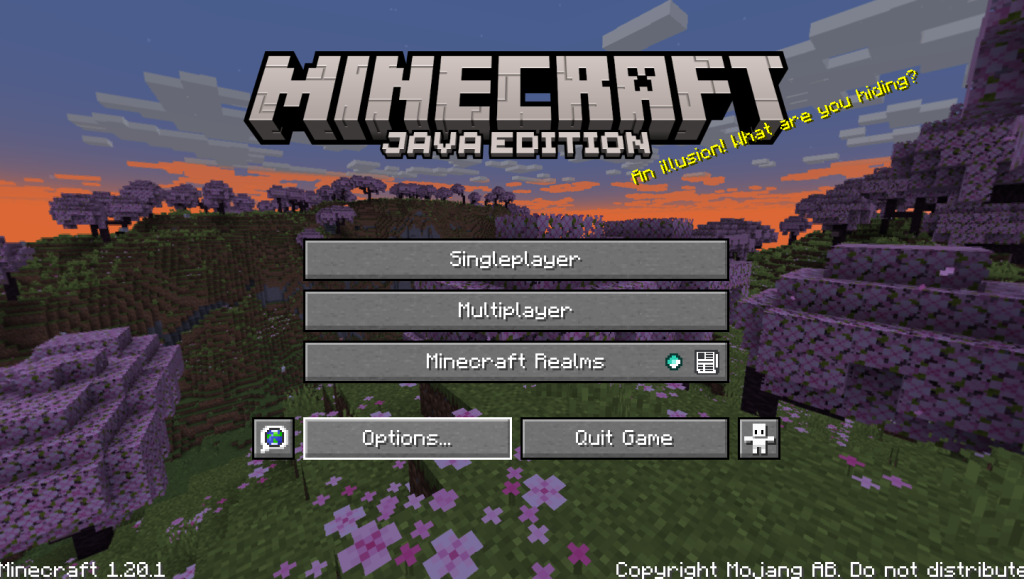
To put texture packs into Minecraft, you must first have access to your Minecraft resource pack folder. You can access it by going to the Minecraft launcher and starting up Java edition.
On the main menu, click the options button on the bottom left.
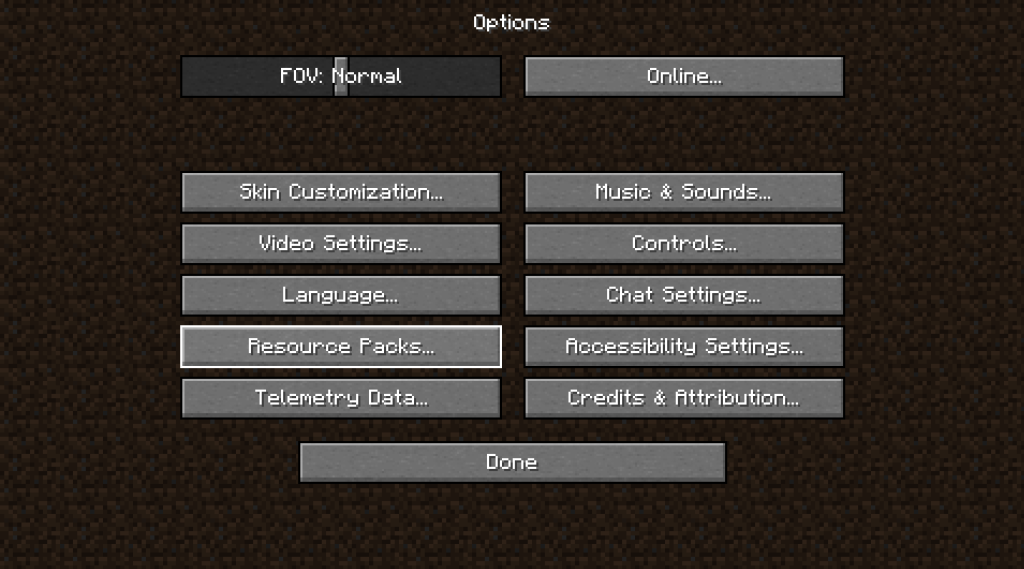
In the options directory, click the “Resource Packs” button on the left side of the screen.
This will lead you to a screen showing all of your available resource packs, as well as the pack you have selected to play in your game. If you’ve never used resource packs before, you should have the “Default” texture pack in the selected section on the right and the “High Contrast” and “Programmer Art” packs in the available selection on the left.

At the bottom left of this section is a button labeled “Open Pack Folder”. Click it to open the folder that holds resource packs for the game. It should be empty until you add in your downloaded texture pack(s).
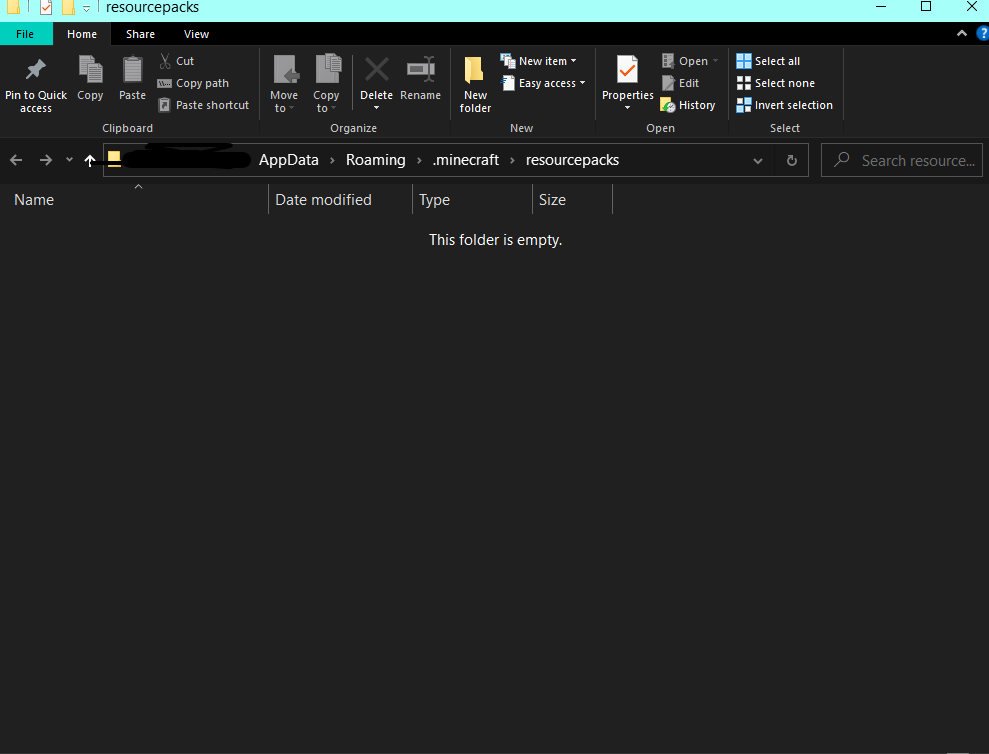
Now that you have your resource pack folder ready, you can start downloading texture and resource packs to add to your game!
Downloading Resource Packs Online
There are many lists online that showcase available texture packs, like our list of the 8 Cutest Texture Packs for Minecraft 1.20. However, if you can’t find something that you love from online research, there are plenty of websites that offer download links for Minecraft resource packs. Texture-Packs.com, resourcepack.net, and planetminecraft.com are three such websites. For this guide, I will be using texture-packs.com.
Once you’ve selected a texture pack from a list, or found one on one of the websites listed above, click on its page. Read it over and look for its download link, making sure to select the one that matches the version you’re playing on.
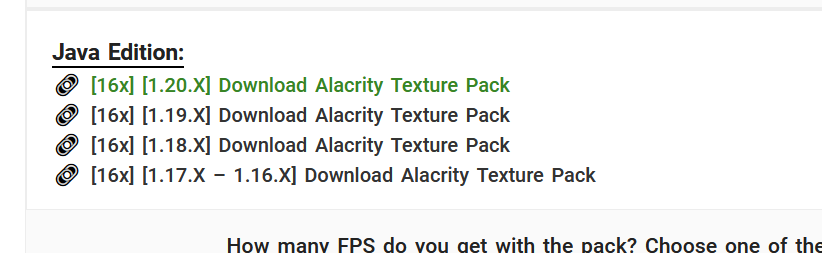
If you’re unsure of what version you are playing, you can find it to the left of the “Play Button” on the Minecraft Launcher. If you have Java edition opened already, you can see the version you’re playing in the bottom left corner of the main menu.
Follow the download instructions for the texture pack you choose. It should as a download a .zip file. You can extract it if you would like, but you can also just drag it into your resource packs folder as it is. If you’d like to download multiple different packs, this is the perfect time to do so.
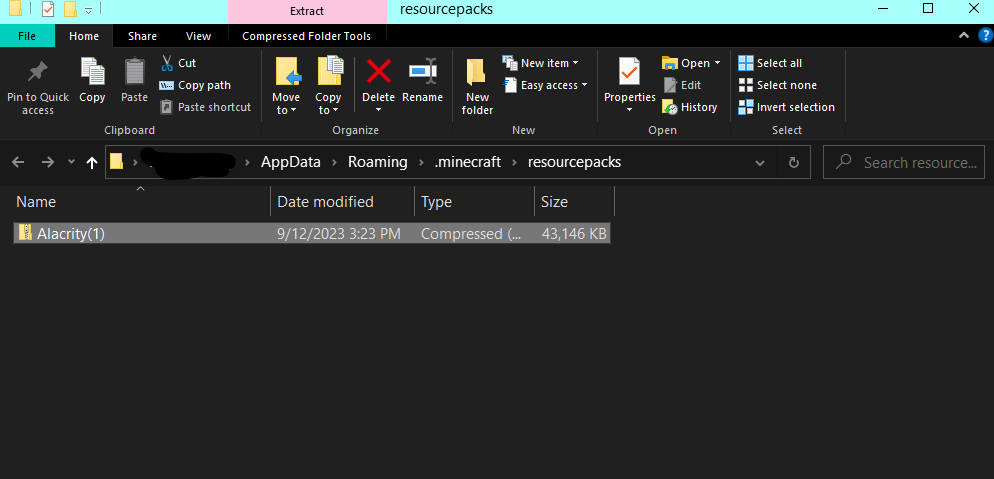
Now your texture pack is ready to be used in the game!
Using Resource Packs In-Game
Once your texture packs are safely stored in the resourcepacks folder, you can open Minecraft again. Just like you did when finding the resource packs folder, click the options button and then the resource packs option to open the resource pack selection screen. It should now show your newly downloaded textures, like the image below.
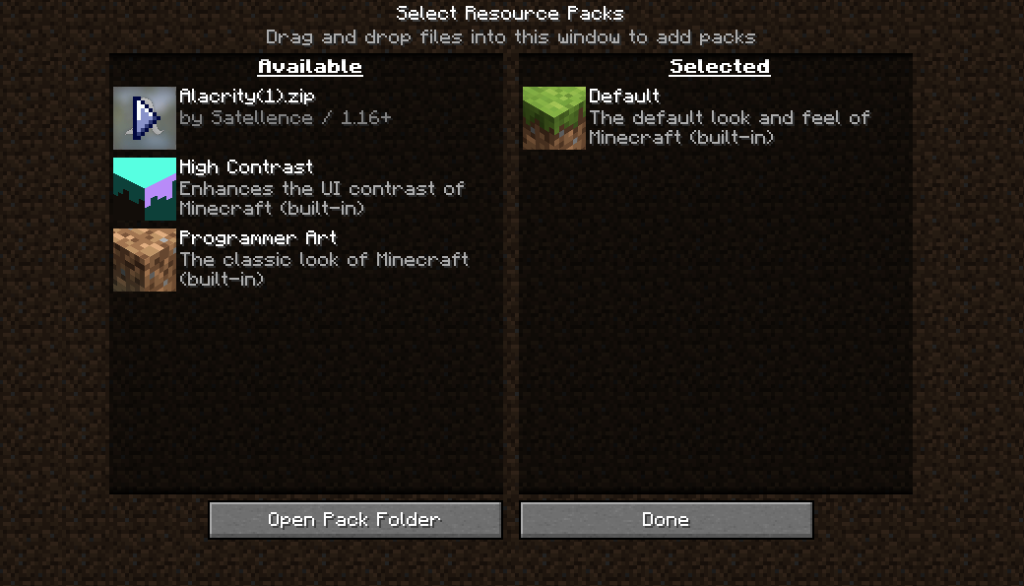
Click on the arrow to move it to the “selected” side of the screen.
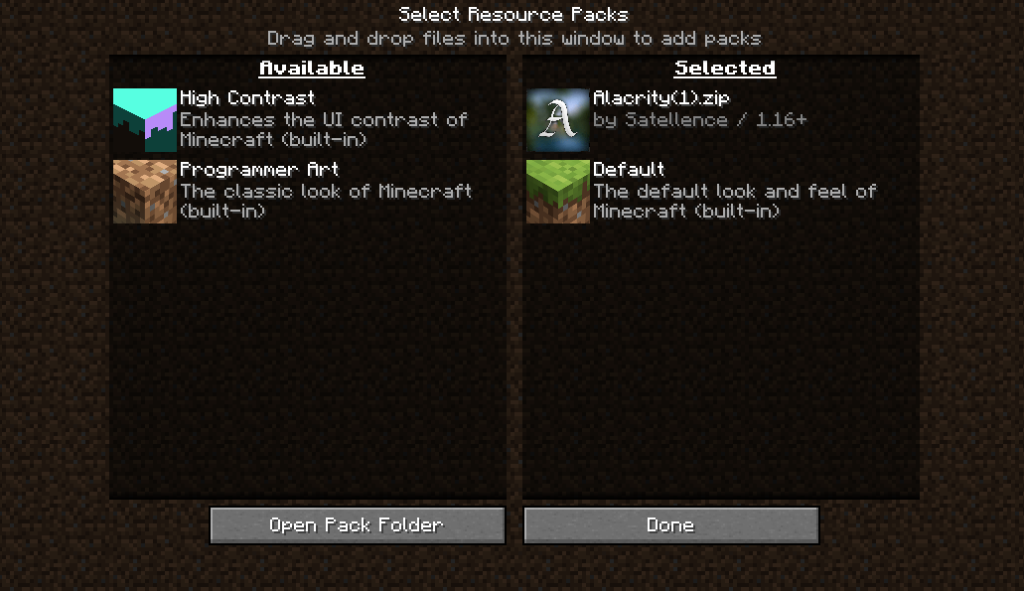
Whichever pack is at the top of the selected list is the texture pack that Minecraft will load with. Your game will undergo a short loading screen, and that’s all there is to it! If the texture pack you download changes the game’s menu, it will be changed after the loading screen. You can now open up any of your worlds and the new textures will be applied.

Optifine Installation (Java Only)
Optifine is a Minecraft mod that allows players to fully customize their visual settings in the game. It’s used for texture packs and shaders and can do things like removing effect particles. It is not a necessity for downloading texture packs. However, using it can help you run Minecraft smoother with some more complicated texture packs by allowing you to simplify certain features.
Install Java
The easiest way to install Optifine in Minecraft is to run it with Java. Java can be downloaded here, on the official website. Click on the download button and wait for the setup wizard to open.
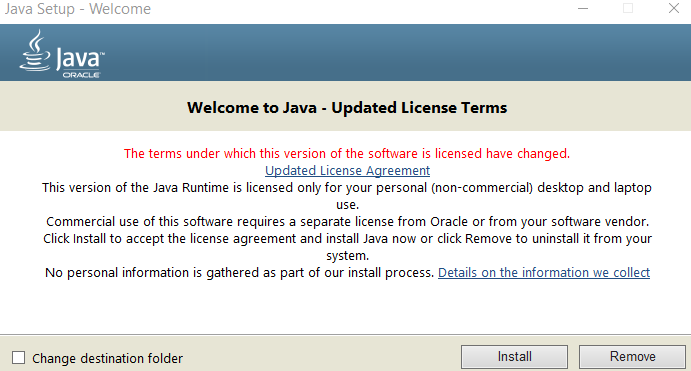
Click install, and then all you have to do is wait! It’s super easy, and only takes a minute or two.
Install Optifine
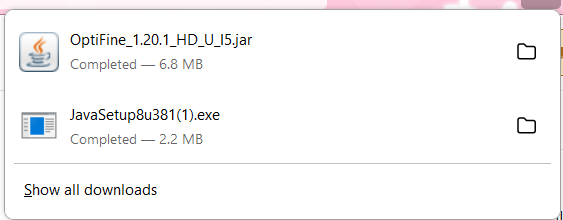
After Java is installed, you’re ready to download Optifine. The safest place to download it is from the official Optifine website. Ignore the ad in the center, and just watch the timer in the top right. Skip it as soon as you can do so and you’ll get to the download page. The file should download as a .jar file and look similar to this.
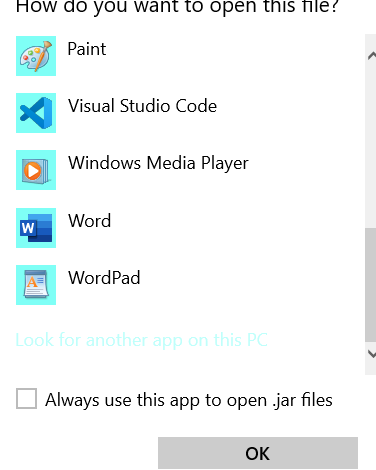
Drag the Optifine file to your desktop and right-click on it. Scroll down the list and click on “open with”.

My PC settings always open .jar files with the Java(TM) Platform SE Binary, so that is the first option on my screen. If this is your first time using Java, you will likely have to click “more options” to find the Java(TM) Platform SE Binary option. If you cannot find it, visit the “Installation Tips and Problem Solving” section for more information.
Select Java(TM) Platform SE Binary. If Java is working properly, you should see an “Open Executable File?” tab pop up. Click OK.
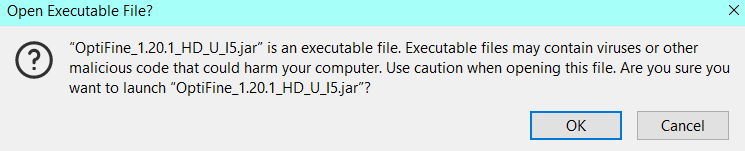
Click OK to be taken to the Optifine Installer.
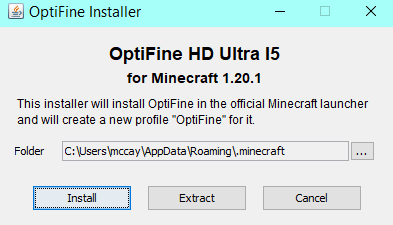
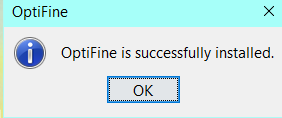
Hit the Install button. After you receive the “Optifine is successfully installed” message, you are ready to open up Minecraft with Optifine!
Using Minecraft Java with Optifine
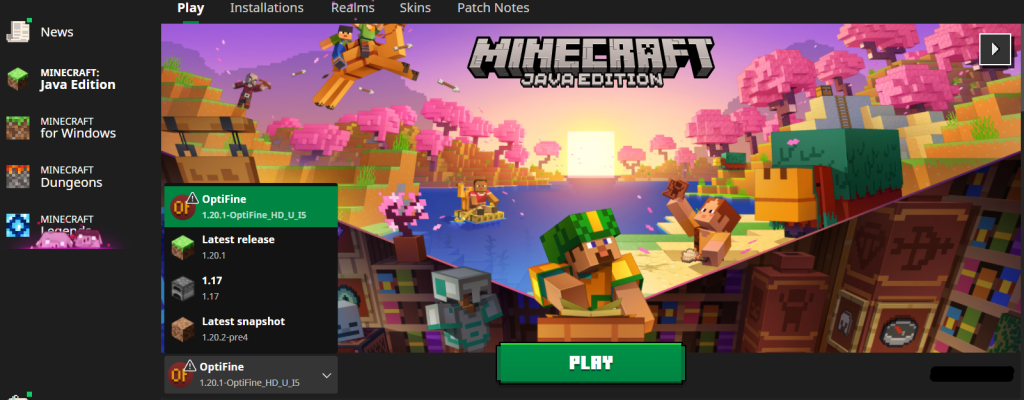
In order to play Minecraft Java edition using Optifine, you must close the game and return to the Minecraft launcher. With Java edition selected, click on the version to the left of the “play” button and select OptiFine.
With Optifine selected, go ahead and open up your game. Click options, then video settings. Your video settings folder should now contain a wide variety of options for you to customize your game with! This helps you adjust your settings to run new texture packs smoothly, as well as allows you to make your game as personalized as you would like!

Installation Tips and Problem Solving
Cannot Find Java(TM) Platform SE Binary
If you can’t find the Java(TM) Platform SE Binary after right-clicking on Optifine, try finding it this way.
Right-click on Optifine, click open with, and then more apps. Scroll to the bottom and select “Look for another app on this PC”.
It should bring you to the “Program Files” folder on your computer. If you see a folder labeled “Java” here, click on it.
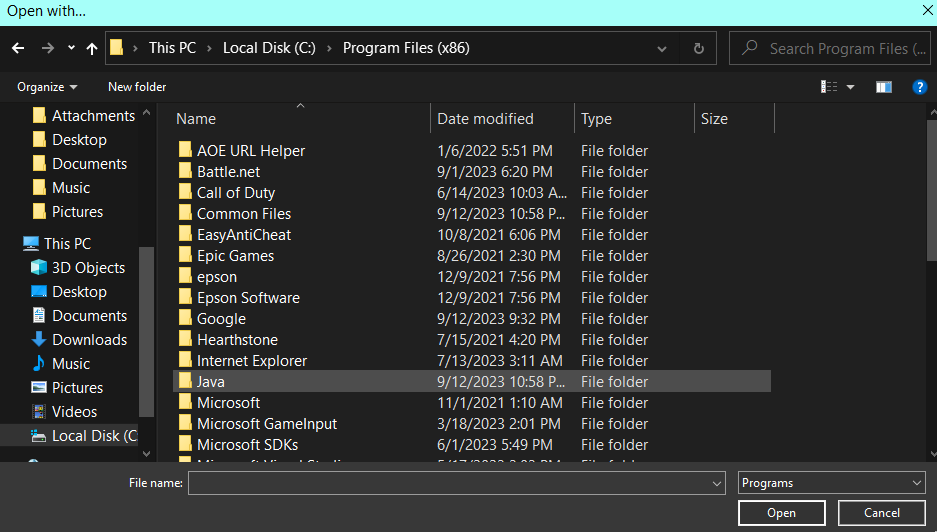
If you do not see the “Java Folder”, go back one page to the “Local Disk” and open the folder labeled “Program Files (x86)” and enter it.

Find Java here and enter the folder. If the Java folder is not in either of these places, you should go back to your downloads and click on the Java file to redo the installation process.
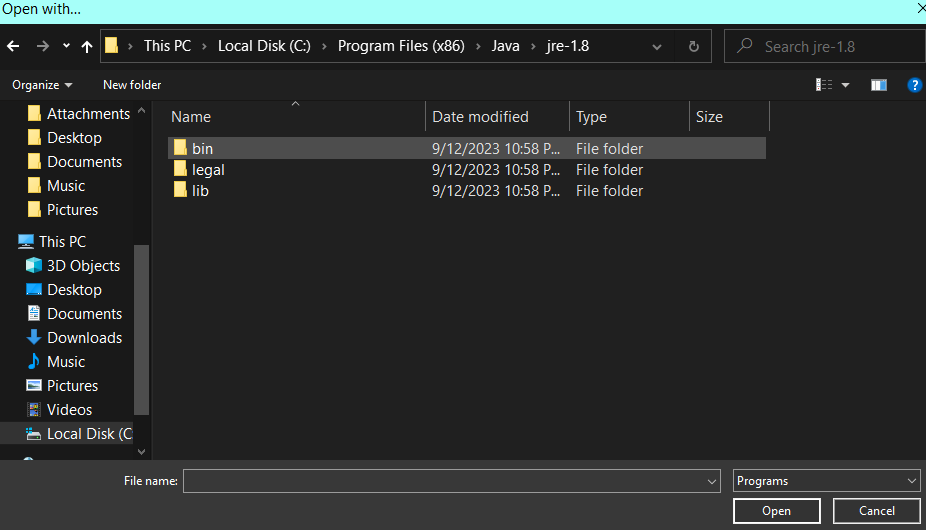
After opening the Java folder, you’ll come to a page with a folder labeled with the edition of Java you have downloaded. Enter that folder.
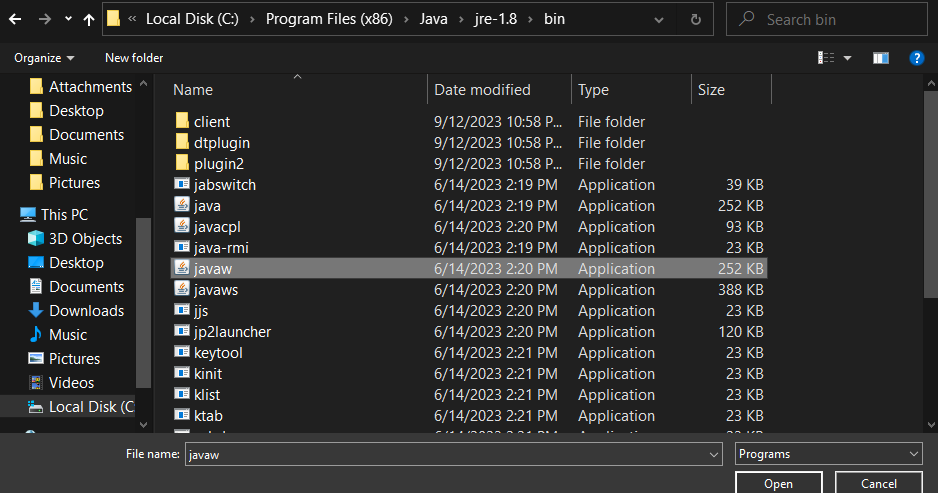
Click on the “bin” folder. When it opens, select “javaw.exe” and use it to open Optifine. Make sure to mark it to use for all of your .jar files, to make the process easier for yourself in the future.
Optifine Installer Not Opening with Java(TM) Platform SE Binary
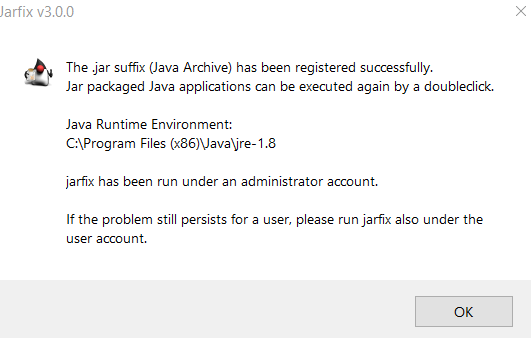
If you can find the Java(TM) Platform SE Binary just fine, but opening Optifine with it results in nothing happening, try downloading Jarfix! It can be downloaded in a matter of seconds from the official website and makes sure that .jar files open properly with Java. Once you get the message that it was downloaded successfully, try opening Optifine again.