

Table of Contents
The smithing table is a utility block in Minecraft that allows players to upgrade diamond gear to netherite and add armor trims to any piece of armor. It also allows players to give villagers the job of “toolsmith”, which deals in enchanted tools and ores.
How to get the Smithing Table
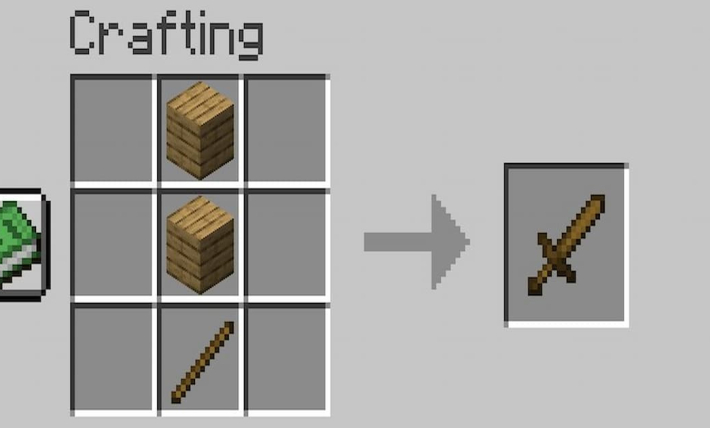
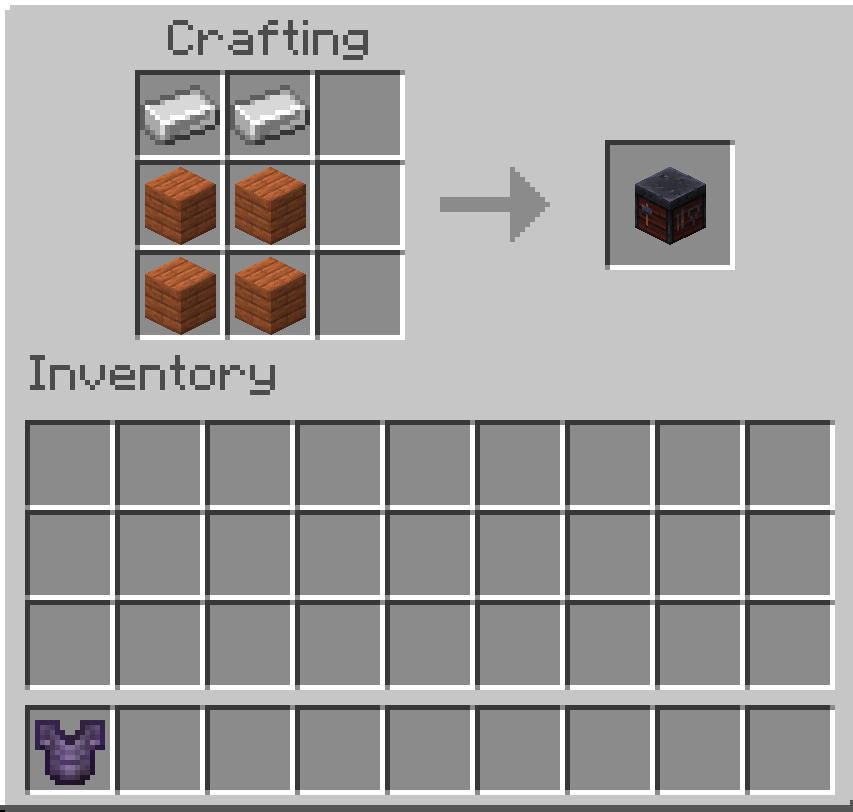
The first way you can get your own smithing table is by crafting it on a crafting table. The Minecraft smithing table recipe is very simple for such an important block: it only requires 2 iron ingots and 4 wood planks of any type of wood. In the crafting table’s 3×3 crafting grid, place one iron ingot in the first box of the top row, followed by one iron ingot in the second box. In the second row, place one wooden plank in the first box and one wooden plank in the second box; repeat this in the final row.
If you’re trying to save up on resources, there is also a chance to get the smithing table in a village. Any village containing a toolsmith will have a smithing block placed in its home. It is easily mined by hand, but using an axe will break it the fastest.
Using the Smithing Table
Now that you have a smithing table, it’s time to decide what to do with it.
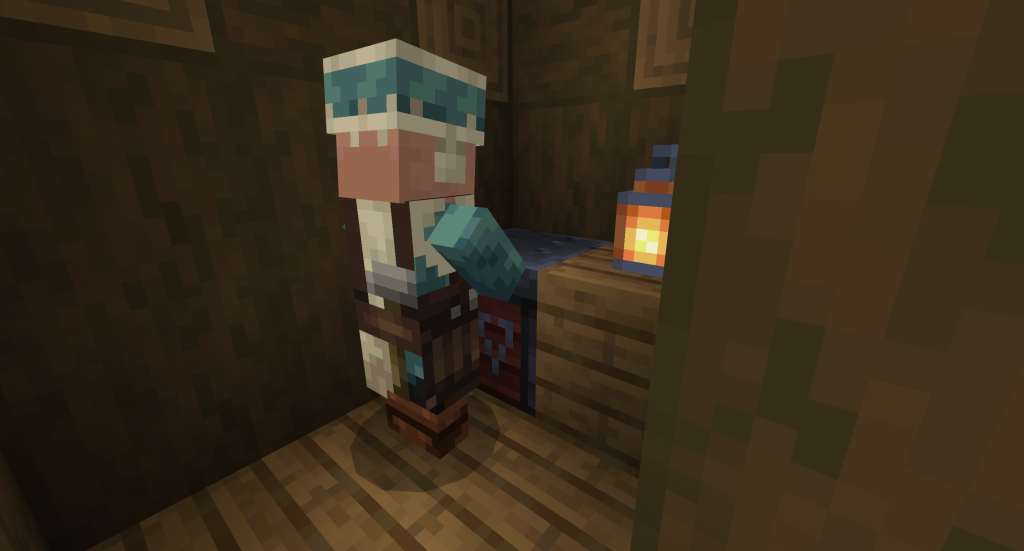
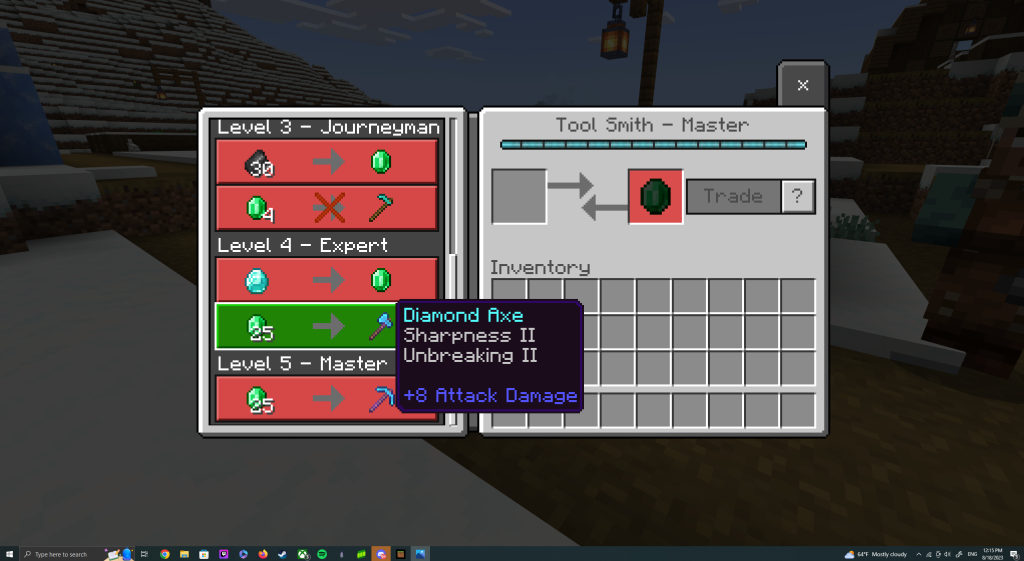
Use #1: Creating a Toolsmith Villager
If you’d like to turn a villager with no job into a toolsmith, all you need to do is set the smithing table down near him! It will become his job block, but you will still be able to use it for netherite upgrades and adding armor trims. If you destroy the block, he will become a jobless villager again.
Once you begin trading with a villager their trades will be locked. Make sure that what they have for sale is what you want!
The toolsmith will accept ores like coal, iron ingots, and flint for emeralds. When giving them emeralds, you can receive a variety of regular and enchanted tools as well as a village bell depending on how much you have traded with your villager.
Use #2: Upgrade Diamond Gear to Netherite
The smithing table allows players to upgrade diamond tools and armor by combining a netherite upgrade smithing template, one piece of diamond gear, and one netherite ingot. Upgrading gear to netherite does not cost the player any XP and the gear will keep the same durability and enchantments it started with. Netherite gear will be stronger than diamond, with weapons dealing more damage, tools working even faster, and armor offering the player more protection.
In order to get the netherite upgrade smithing template, you must travel to the Nether. This template can only be found in Bastion Remnants, with each having a 10% chance of spawning a chest with the netherite upgrade template inside. Luckily, Bastions containing a treasure room will always contain one of these upgrade templates.
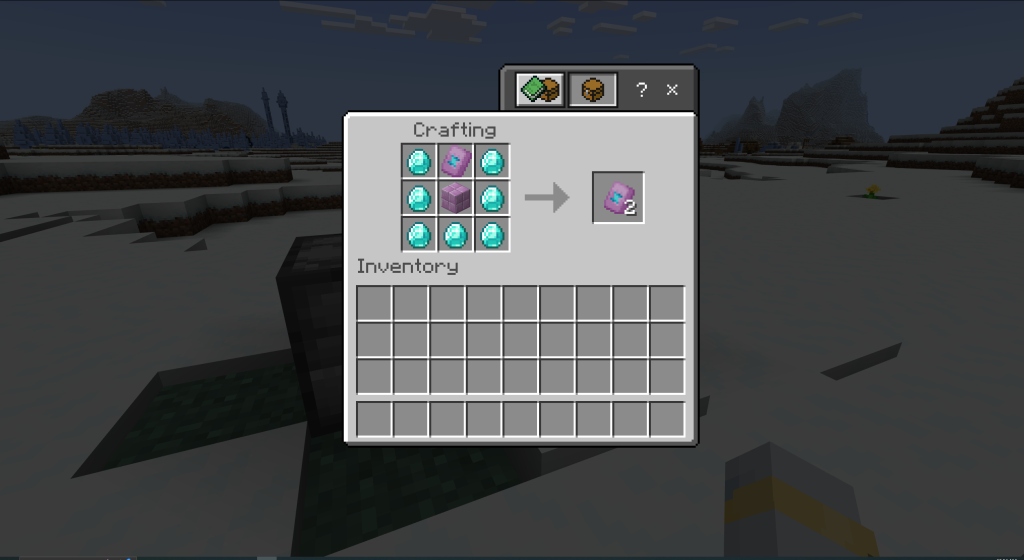
In addition to being hard to find, netherite upgrade templates can also only be used once, making them incredibly valuable. If you don’t want to spend your days searching the nether for enough templates to upgrade all of your gear, there is a recipe for duplication – but it comes at a hefty cost. Duplicating a netherite upgrade template requires one netherite upgrade template, one block of netherrack, and seven diamonds. In the crafting table’s 3×3 grid, place the netherite upgrade template at the top center box, the netherrack block in the center box, and fill the surrounding boxes with diamonds. In doing so, you’ll transform one netherite upgrade template into two.

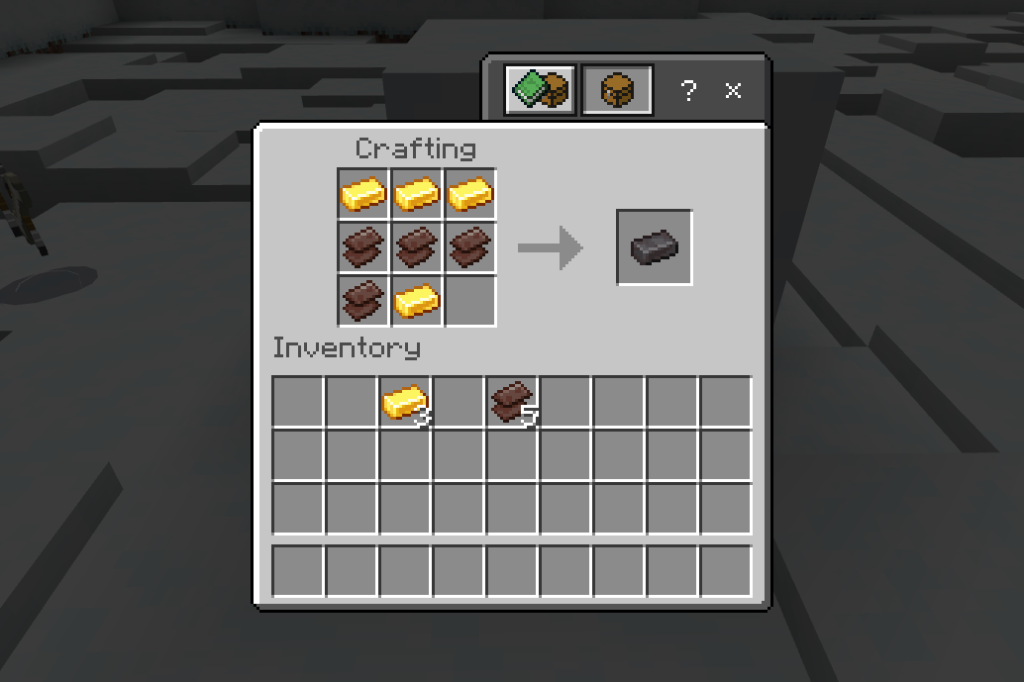
Netherite ingots aren’t as difficult to produce, so long as you know where to look. Netherite ingots are produced by combining four gold ingots with four netherite scraps, which are created by smelting ancient debris. It doesn’t matter which box the ingots and scraps are placed in, just that there are four of each.
Most ancient debris can be found between Y level 22 and Y level 8 in the Nether. It most commonly spawns around level 14 and level 15, so it’s best to start there. Every piece of ancient debris can be smelted into a single piece of netherite scrap. In order to deck yourself out in full netherite gear, you will need to collect at least 36 pieces of ancient debris to produce the necessary 9 netherite ingots.
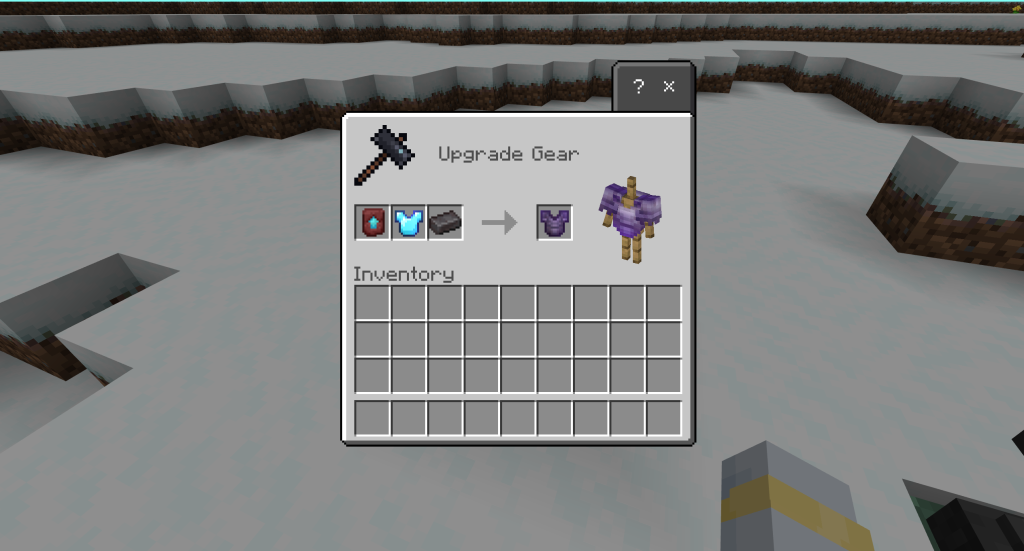
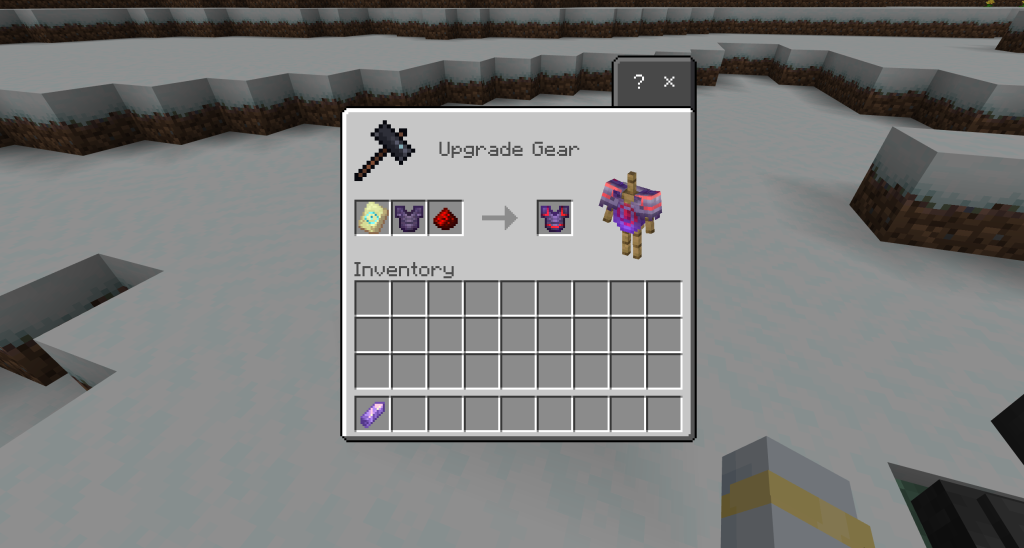
Use #3: Adding Armor Trim
Armor trims are the newest addition to the smithing table’s uses. By combining an armor trim smithing template with a piece of armor and specific ingots or crystals, armor can be decorated in thousands of different ways. Just like the netherite upgrade template, armor trim templates do not cost XP to use and will not affect the armor’s enchantments or durability. It can be used on any form of armor, from dyed leather to chainmail to netherite.
With the 1.20 update came 16 different armor trim templates. They can be found all over the Minecraft world in different large structures, with several being available by excavating some of the new archeological ruins.
| Name | Location | Template | Trim on Iron Armor |
| Coast Armor Trim | Shipwrecks |  | 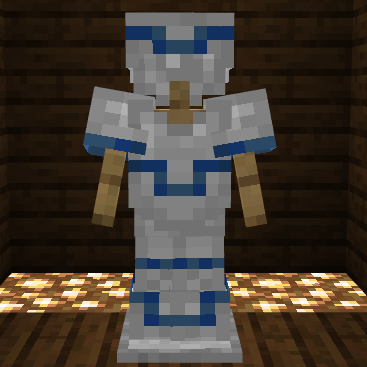 |
| Dune Armor Trim | Desert Temples |  |  |
| Eye Armor Trim | Strongholds |  | 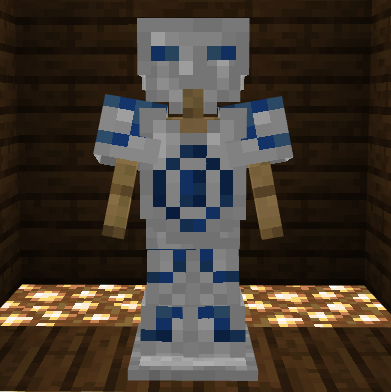 |
| Host Armor Trim | Trail Ruins |  | 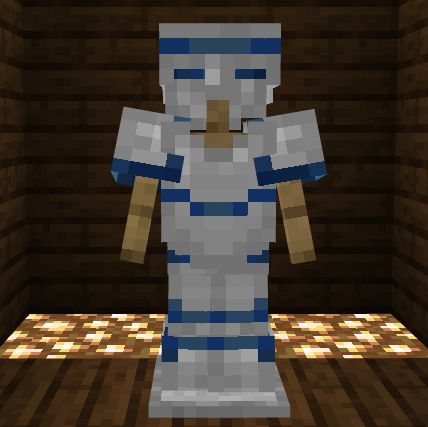 |
| Raiser Armor Trim | Trail Ruins |  | 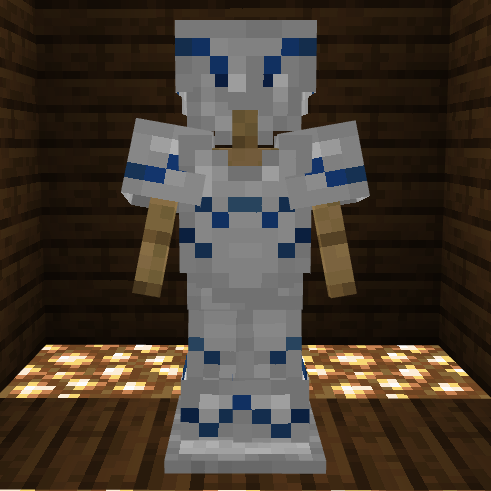 |
| Rib Armor Trim | Nether Fortresses |  | 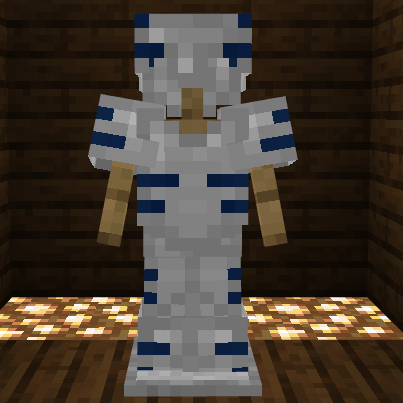 |
| Sentry Armor Trim | Pillager Outposts |  | 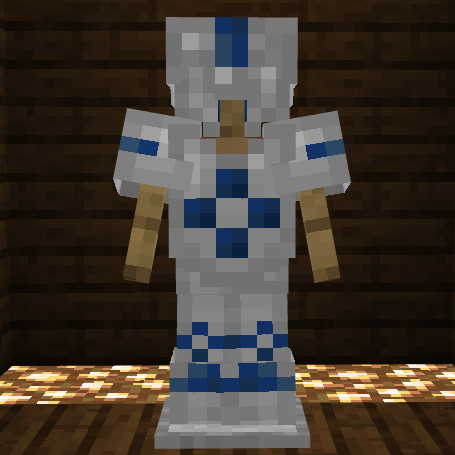 |
| Shaper Armor Trim | Trail Ruins |  | 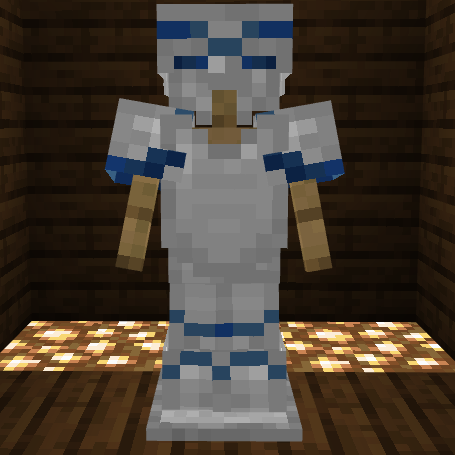 |
| Silence Armor Trim | Ancient Cities |  |  |
| Snout Armor Trim | Bastion Remnants |  | 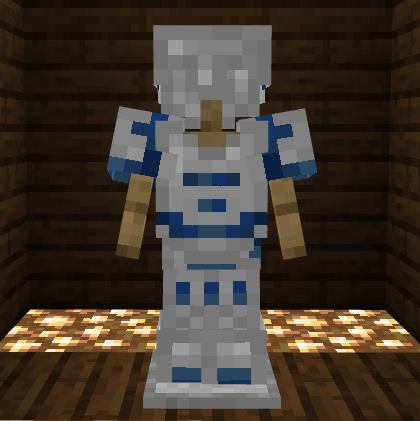 |
| Spire Armor Trim | End Cities |  | 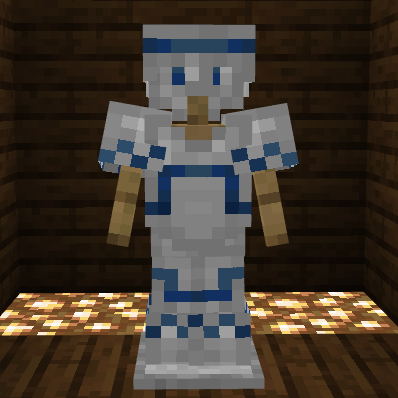 |
| Tide Armor Trim | Ocean Monuments |  | 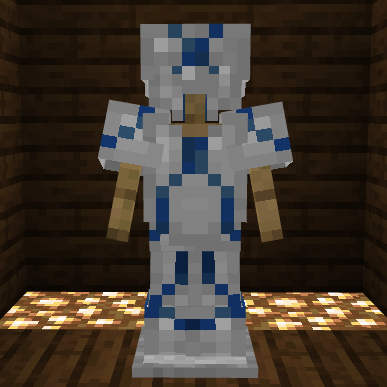 |
| Vex Armor Trim | Woodland Mansions |  |  |
| Ward Armor Trim | Ancient Cities |  |  |
| Wayfinder Armor Trims | Trail Ruins |  | 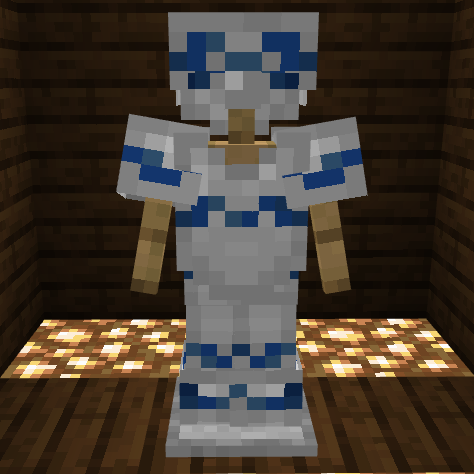 |
| Wild Armor Trim | Jungle Temples |  | 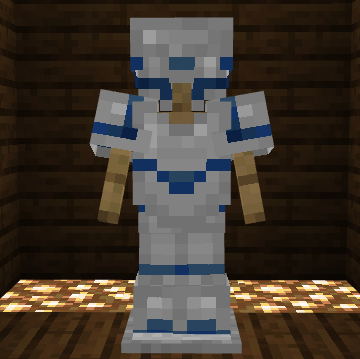 |
Similarly to the netherite upgrade smithing template, armor trim templates are single-use but are able to be duplicated. Duplication requires one armor trim smithing template, seven diamonds, and one block that is decided by the template being duplicated. In the crafting table’s 3×3 grid, the template being duplicated goes in the top center box, the corresponding block goes to the center, and the rest of the boxes are filled with one diamond each.
The required block for duplicating each type of armor trim is related to where each trim is found. The required blocks are listed below.
- Coast Armor Trim – Cobblestone
- Dune Armor Trim – Sandstone
- Eye Armor Trim – Endstone
- Host Armor Trim – Terracotta
- Raiser Armor Trim – Terracotta
- Rib Armor Trim – Netherrack
- Sentry Armor Trim – Cobblestone
- Shaper Armor Trim – Terracotta
- Silence Armor Trim – Cobbled Deepslate
- Snout Armor Trim – Blackstone
- Spire Armor Trim – Purpur Block
- Tide Armor Trim – Prismarine
- Vex Armor Trim – Cobblestone
- Ward Armor Trim – Cobbled Deepslate
- Wayfinder Armor Trim – Terracotta
- Wild Armor Trim – Mossy Cobblestone
The final component, the crystal or ingot that colors the trim, is the easiest to obtain. There are 10 different colors available:
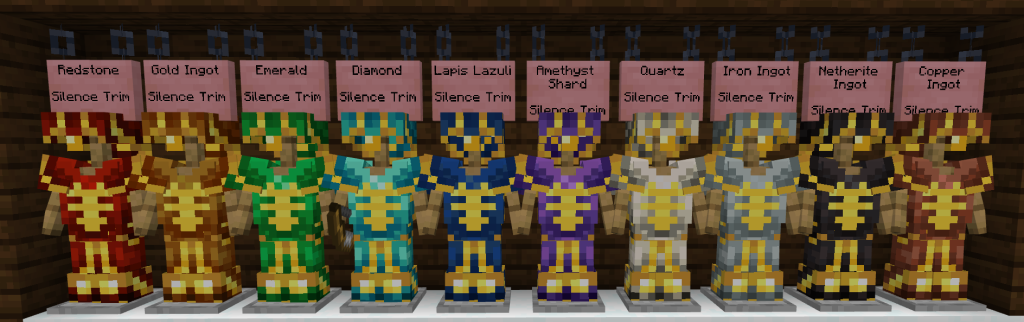
If the material used to color the trim is the same as the armor’s material, such as the gold trim used on golden armor shown above, the trim color will become slightly darker than it appears on other types of armor.
Each piece of armor can only be decorated with one piece of trim at a time in the chosen color. However, the armor’s trim and color can be changed at any time by putting it back into the smithing table with a new armor trim template and color. Each piece of armor worn by the player can be customized to whichever color and trim the player prefers – they do not have to use the same color or armor trim template.